When thinking about colour I immediately become somewhat insecure. For me colour has a strange randomness to it and therefore every choice I make based on or about colour becomes almost arbitrary. There is also this common colour psychology theory people start quoting when talking about colour. Maybe it is because they are just as uncertain about the subject as I am. Or maybe it is because they do know what they are doing when using colour.
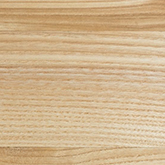
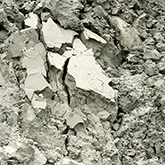
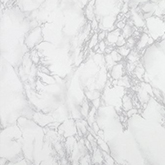
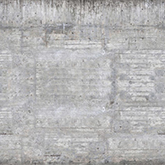
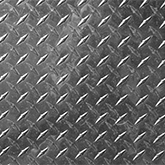
In order to keep evading the subject of colour during this project I had to figure out how I used colour in previous works. It turns out that most of the things I made aren’t colored. Of course they have a colour, but that is because the material of which the object is made has this colour as a natural property. If a thing I make is made from wood it will have a wood colour. If it is made from metal it has a metal colour. Not choosing a colour doesn’t mean you have to pick white, but it means to not cover the intrinsic colour.
Now with this new revelation about my colour use I had to think of a way how to put this in a system. A couple of weeks before this project I did some research about the DIN colour system. Which was an interesting experience. There was nothing to be found about it on the web or in libraries. This meant that I had to define what the system was about by combining multiple contradicting sources. Although that feels like you are just making up something it gave me some understanding of the general structure of colour systems. Most modern colour systems combine 3 parameters: hue, saturation and brightness.
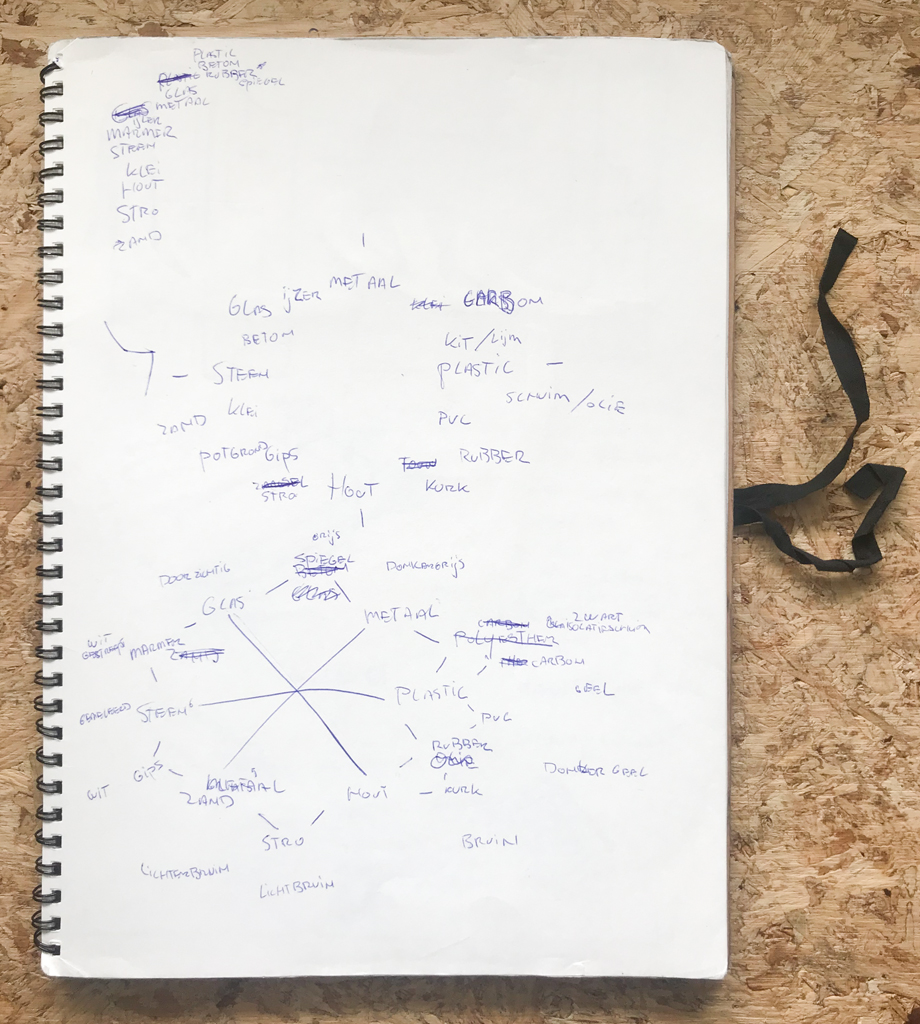
The First step in translating these intrinsic colours to a system was to just combine the two ideas I discovered. I tried to find three parameters, not necessarily hue, saturation and brightness, in the materials I would qualify as materials I would use. The list got longer than I anticipated. And I started to notice something else; these aren’t materials I would use, these are building materials. The focus of my materials shifted from sculptural perspective to a architectural perspective. Not held back by this discovery I tried to put the materials in a circle as if they were colour hues. This led to a couple of interesting connections and contradictions.
Now that the hue parameter was replaced by material I still had to come up with a replacement for saturation and brightness. This is where things started to go wrong. It didn’t take long before one of the biggest philosophical themes entered this soon-to-be colour system: time. I came up with the idea that the use of material changed over time and that the amount of a material that was used could make great graphs. Now brightness became time and saturation became the amount of the material that was used.
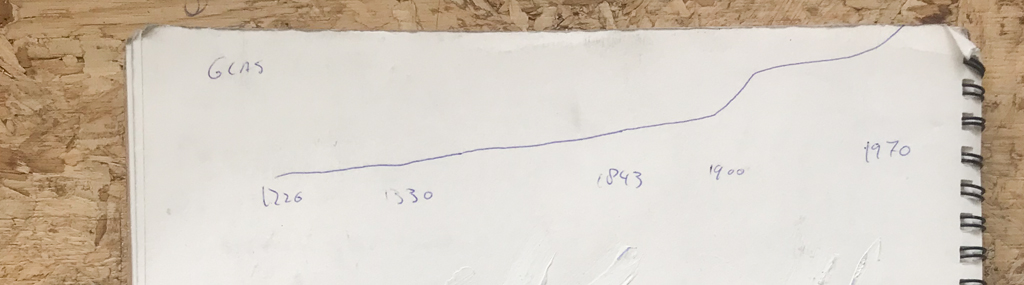
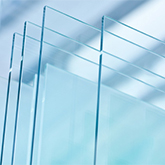
Because this may sound a bit abstract I will try to explain it with an example. Glass was used in small quantities during the middle ages. With several improvements in the production process and by improvements in building construction larger pieces of glass were used in buildings from the end of the middle ages. An even better production process because of the industrial revolution combined with the modernist ideas of the first half of the 20th century lead to a enormous increase in glass use. Our obsession with high buildings, great views and daylight lead to the highest amount of glass used in architecture since ever.
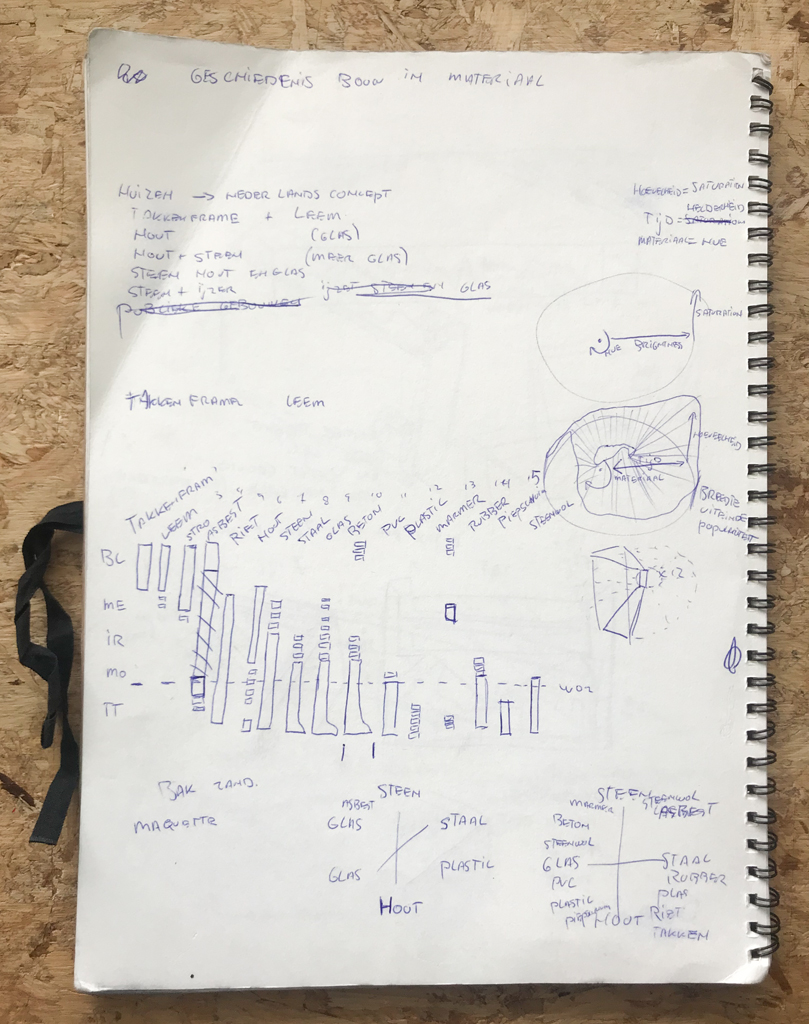
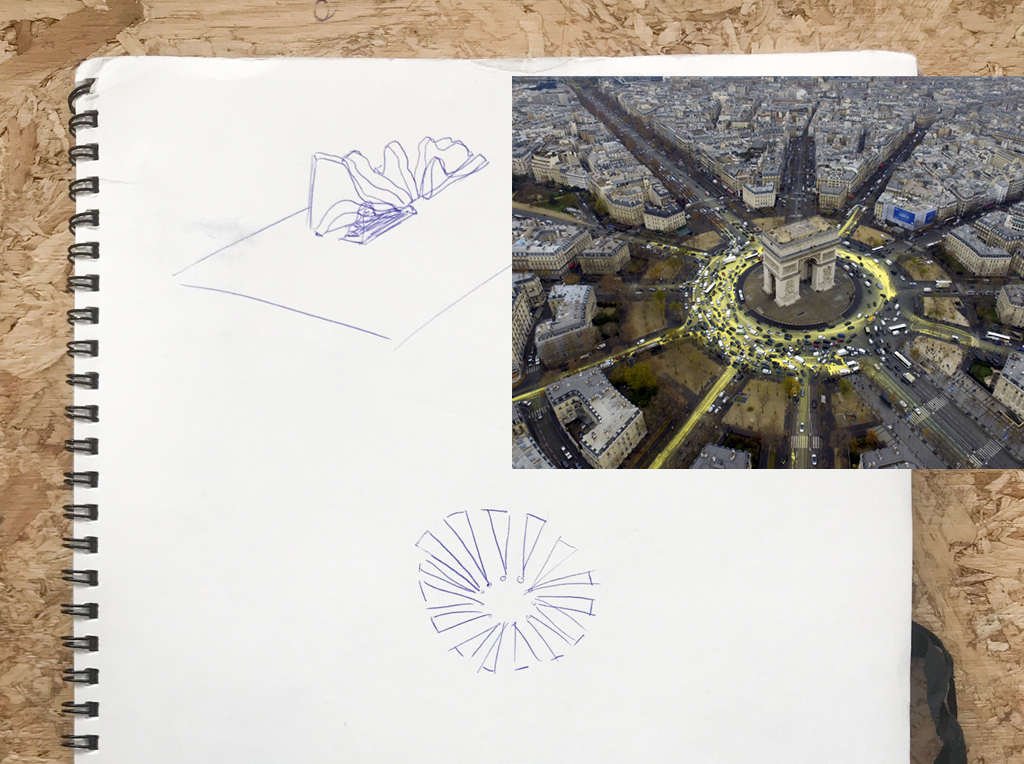
I made timelines like this one for all the materials in my material circle. Now I could make the step from theory to a specimen. It seemed logical to make the graphs of amount of material over time out of the material they are about. I figured out a way to do that but I still needed something for these physical graphs to be presented on. Within half an hour I went from a graph to a maquette with 12 buildings in the middle of Paris.
As I said when I had to come up with 2 other parameters, it already went wrong after the first step. The parameters where to abstract, farfetched and maybe with this last step to applied. I got stuck in an object that was just there as an object instead of what a colour system should be: a tool.
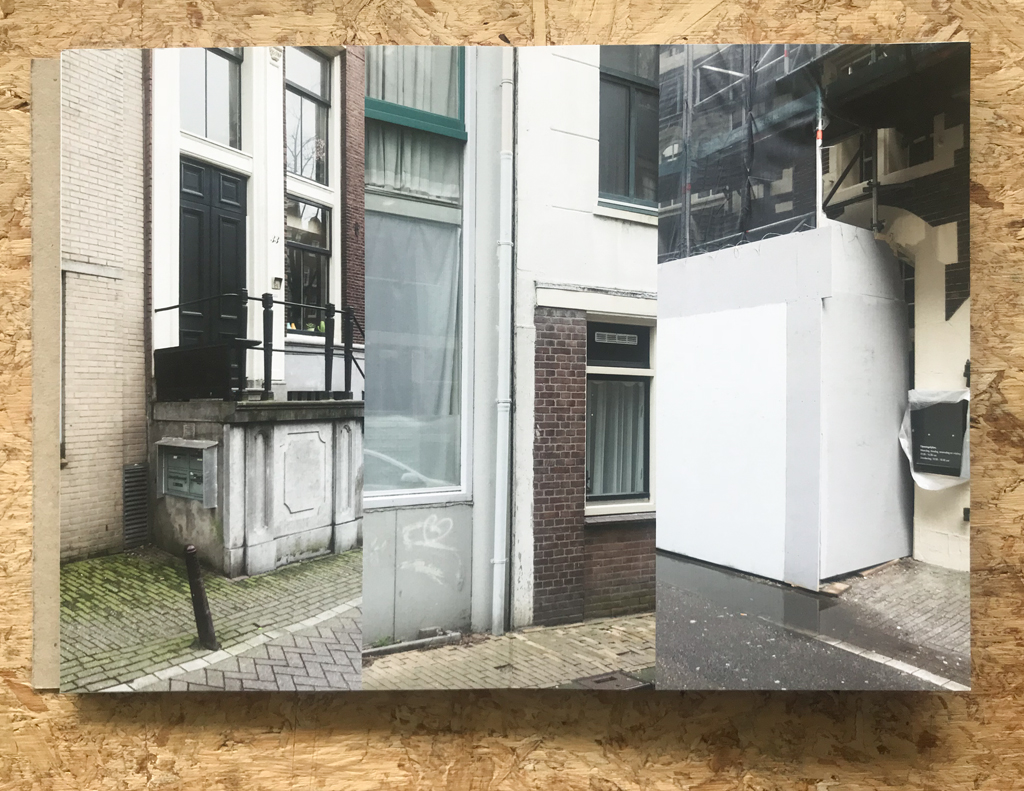
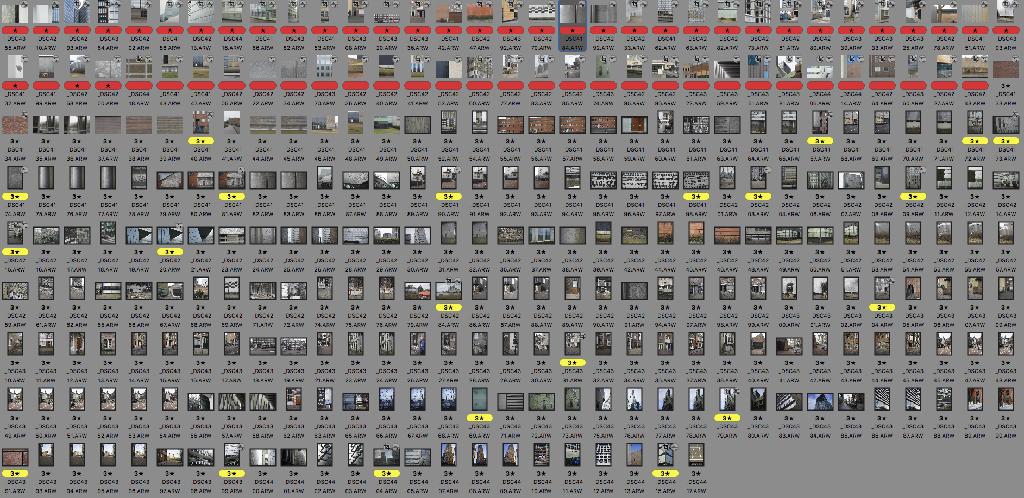
So now what? As with colour in general I decided not to use it. I did nothing with the project for a couple of weeks. But one day before the deadline of the project I had to come up with something. It was clear that the project was way to much thought and far to little hands on with the subject. I had to get out. Check out how these materials are used in the city and try to find transitions in material. So I took my camera out on this lazy Sunday, jumped on my bike and went on a slow journey into Amsterdam.
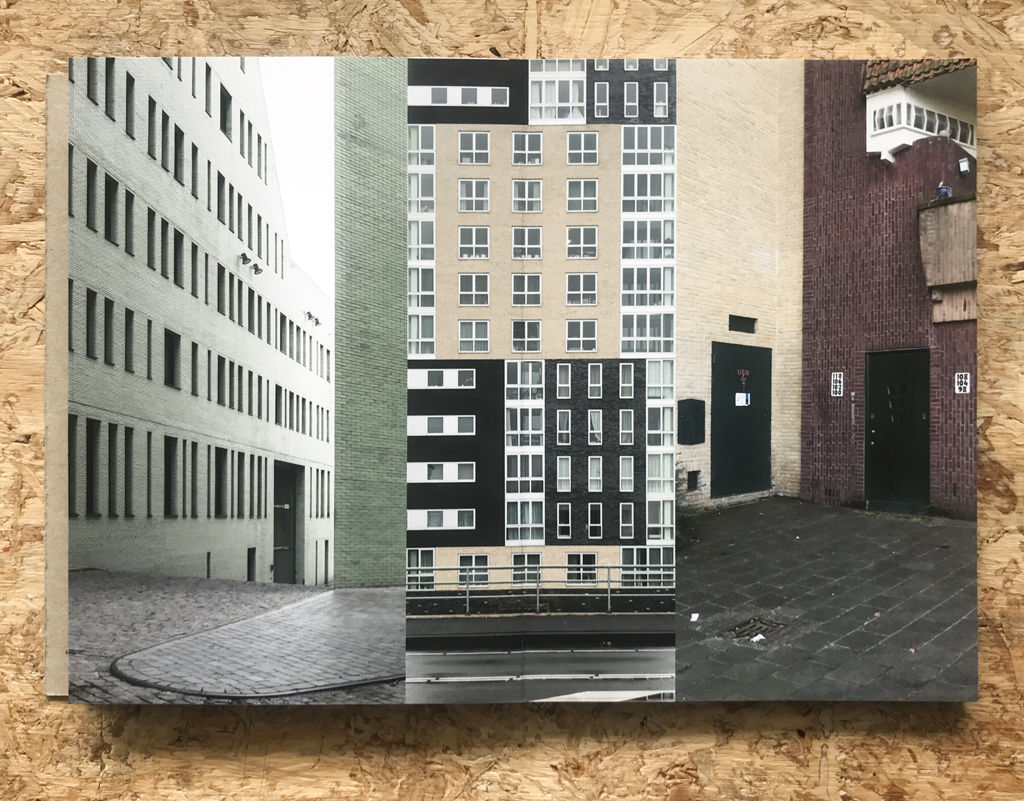
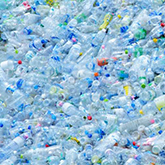
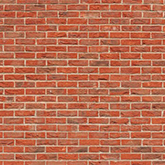
I just took photo’s of every building that used a material because of it’s qualities. This resulted in about 300 photo’s of bricks, metal sheets and glass. The selection could begin. By deciding whether or not I picture was more than just a registration I could narrow it down to about 60. Which I then sorted based on material and colour. Just like I did when making the material circle in the first step weeks ago. In the end I had about 35 images which made a colour circle that could start anywhere in the series.
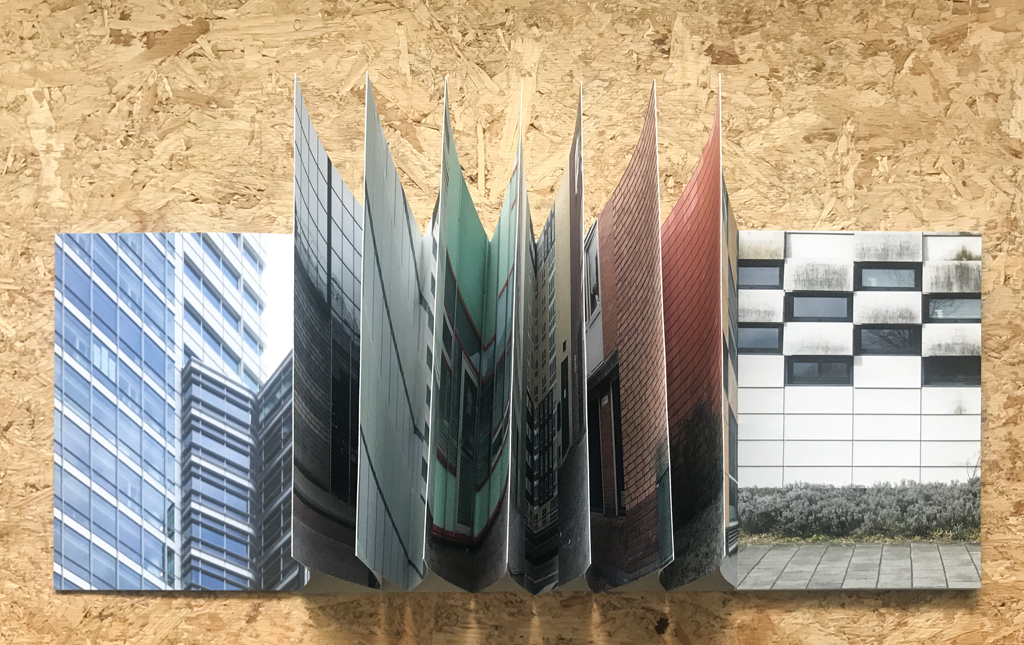
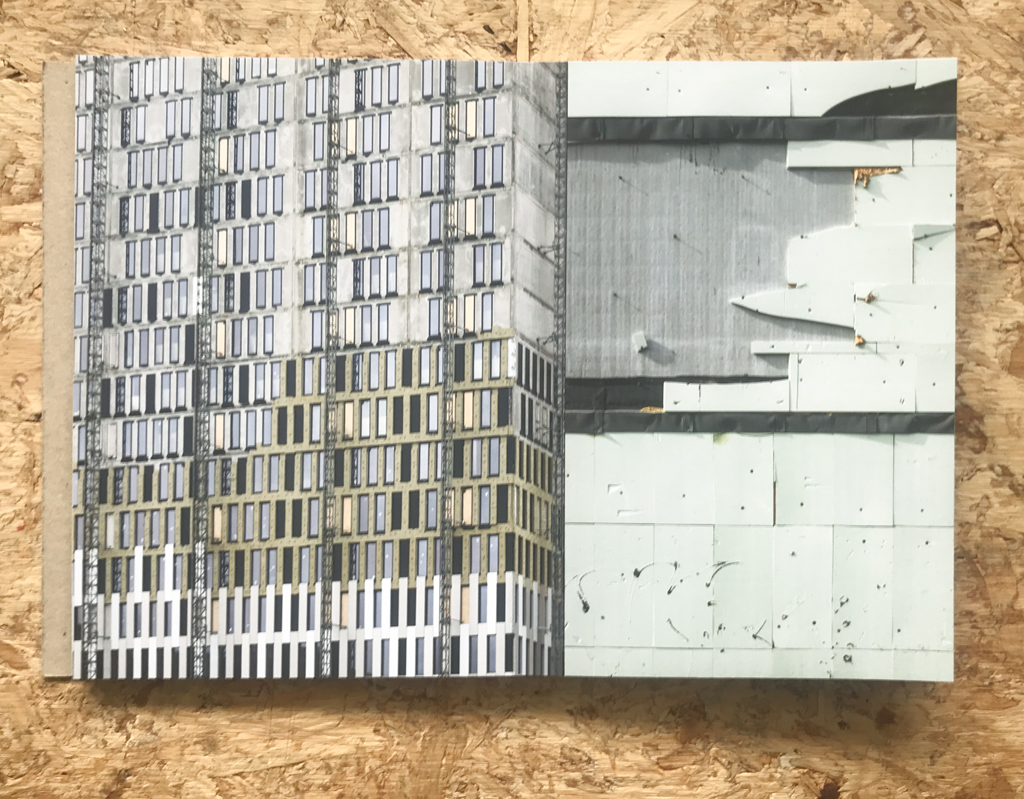
It could be because of the medium or traditional ways to show colour systems, but it seemed logical to make a book of these photos. I tried to make spreads in which it would be sometimes difficult to see where one image starts and the other ends. To create this illusion of a gradient, but also to make them more abstract. They are not about the building that is depicted, but about the material of its facade.
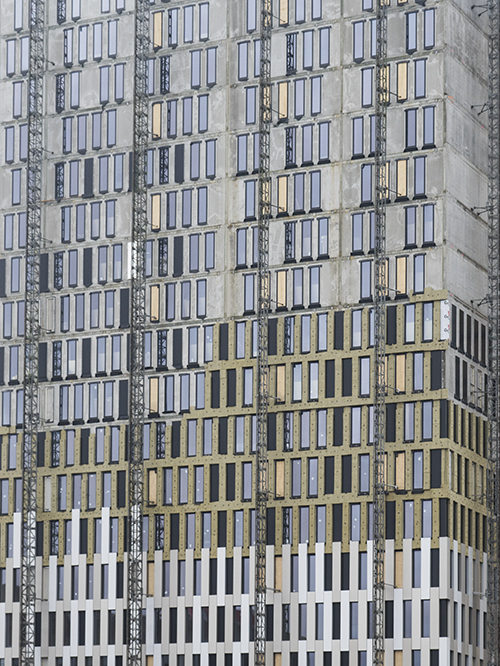
An intrinsic colour being covered by another while both are being slowly smuggled away.
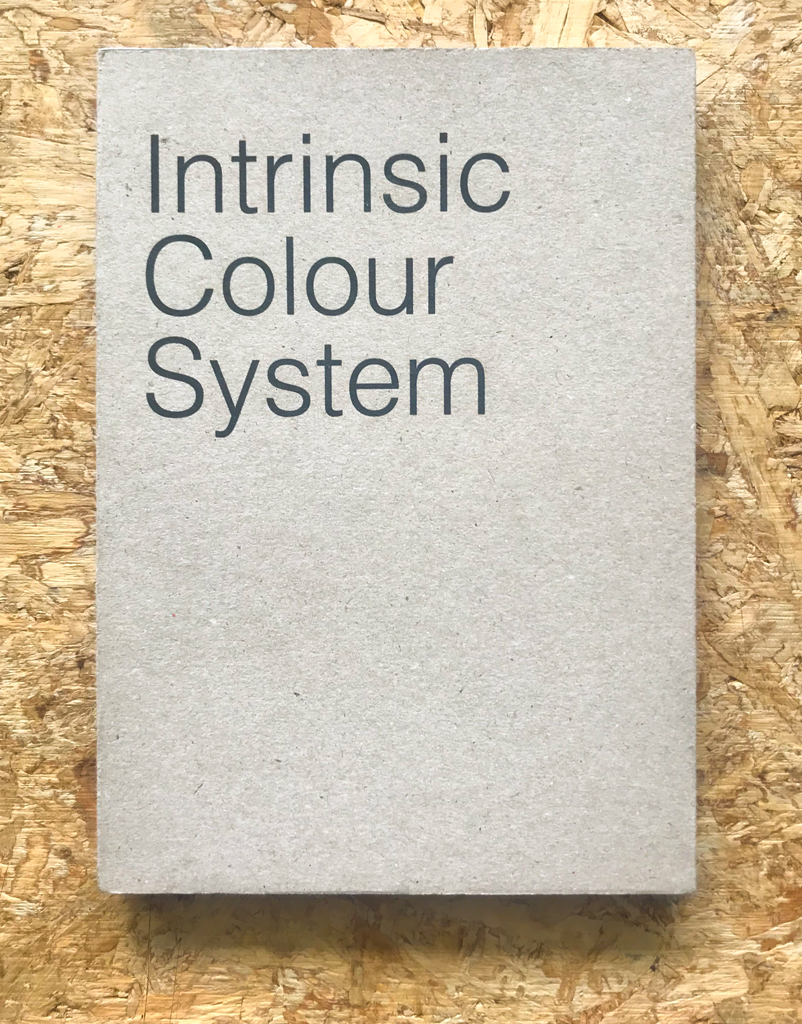
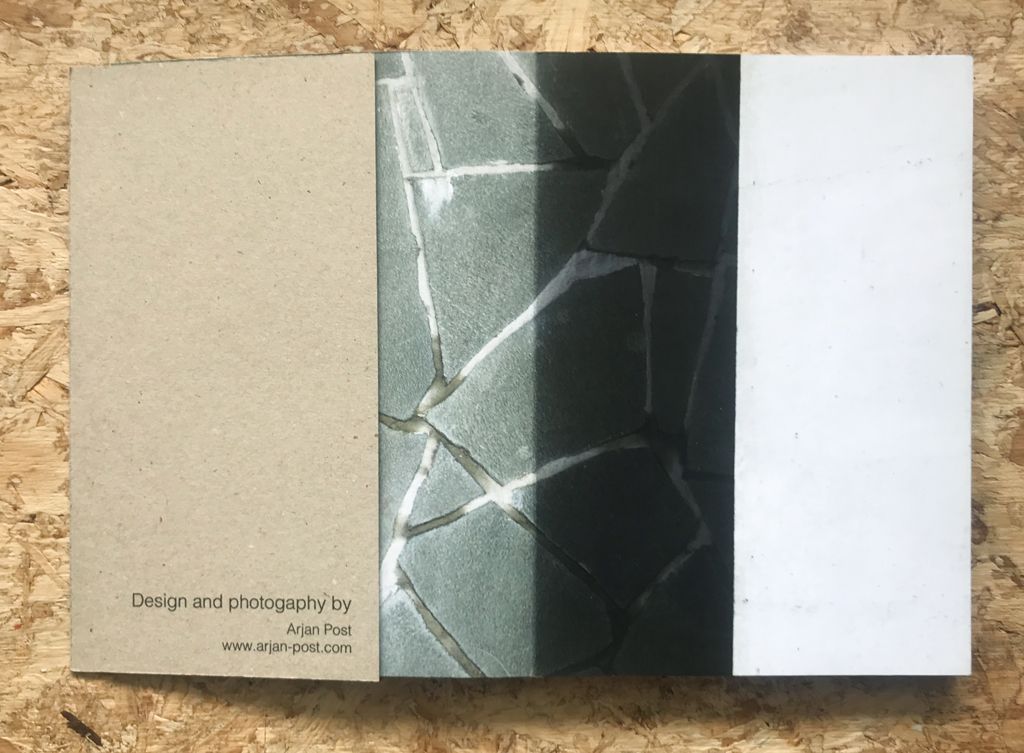
I printed the spreads on separate sheets which then were connected like a leporello. Just because I didn’t know any better I connected them with a nice wide piece of double-sided tape. This made the leporello almost a structure, something that could stand on its own instead of having a cover. When installing it in a circle it didn’t work for me, it wasn’t as self supportive as it was in a book form. So I decided to add a cover that was attached to the last page and would wrap around the first page. This would complete the circle, it could still be viewed as a structure and it would still feel as a book. The material circle is printed on the back and is incomplete, for new materials to be added. I think this fits in the idea of it being a tool instead of just an object.
If there is one thing I learned from this project it would be that it is important to materialize the process. This project, for a major part about thinking, turned at the end into one about doing. Though this thinking was needed for the doing in the end I would like to experiment with reversing this process. Do first and analyze afterwards.