Skip to Content Skip to Search Go to Top Navigation Go to Side Menu


"highlighting" Tag


Highlights


Sunday, May 26, 2019

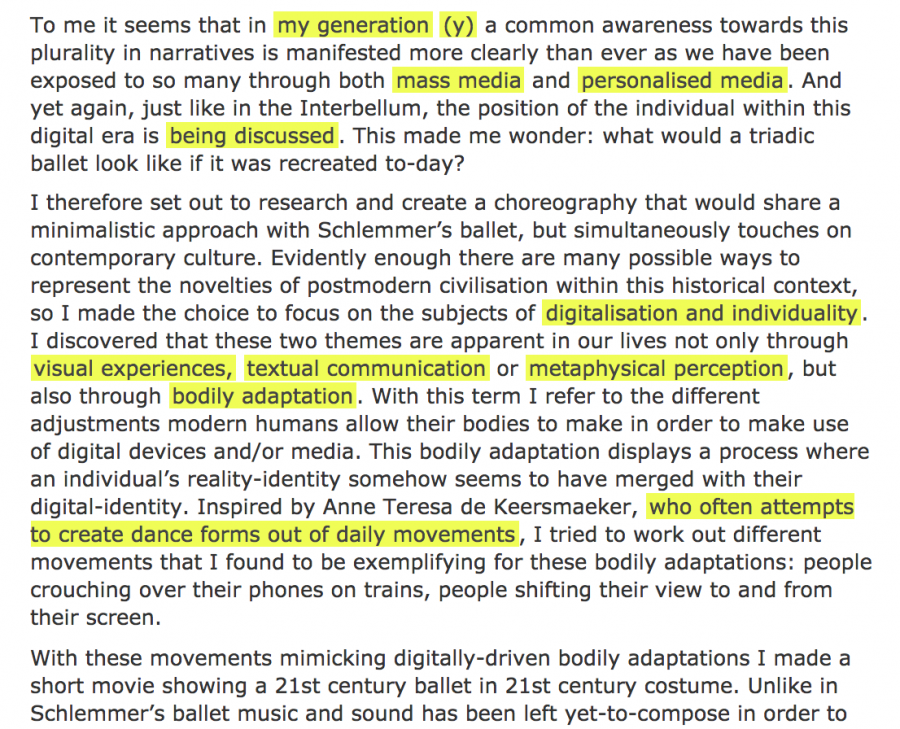
As I open up Designblog, the first thing that caught my eye and took all the attention were the yellow highlights. I almost got annoyed, that my focus wasn’t even on the title. I don’t think my focus is that easy to distract but maybe, who knows. At first I didn’t wanted to choose a focus subject yet, so I decided just to surf around on the blog. Some of the posts I found interesting others not.

But I still couldn’t not escape being aware of the yellow highlights every time I arrived at a new post. The highlights were very different in the way of the use of them. Some of the posts had a lot of highlighted words, some had a small text highlighted and some only had a very few. So I went on surfing on the blog with this in my mind until something strange happened.

I came across a post, where something was different. It didn’t had any highlights at all (except for the ones in the bottom, they all have). I felt somehow confused and relieved. I made it to the end of my journey on the design blog. I hit a wall. Just a clean post about “Doing aerobics before painting?: What can we expect during the Basic year”.

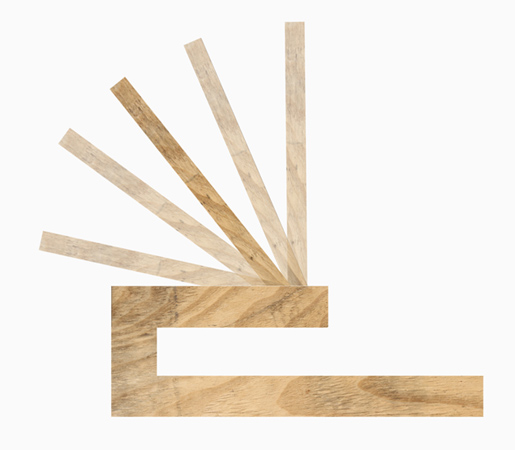
I followed the different yellow highlight to the end and I wanted to do something with the placement of them, the shapes and lengths. That was one of the nice thing with them, they changes and had a nice random flow.


So I decided that I wanted to work with them only. So I screenshot a lot of the different post on the Designblog. So I could have a nice “library” for the highlights. From there I started working on how to visualize it. Because it was such a simple gesture they made, but were quite strong, I wanted to make it as a very clean piece.

So what is a highlight, why do we use it and how do we use it?

Highlights works as you might know to make one specific word or sentence stronger. In some cases you underline your point for example. They are KEYWORDS in your text. The most important words to sum up your text. It is there to show the importance and your valid point in your text.
As Wikipedia also says: Highlight adds translucent color to a paper or text to emphasize particular parts of the text. The highlight can be seen in different displays as colors, fonts, depending the meaning of the context. You can also use the highlight to confuse the reader by putting them places where it is out of context. So in a way, it is a very simple but strong tool.
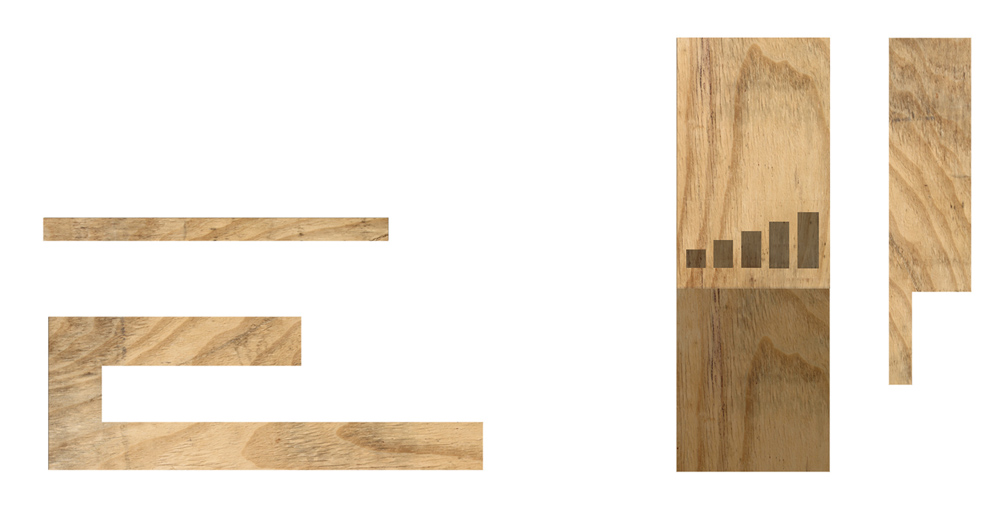
So as I said before I wanted to do a simple visualizing of the highlights. In the blog the highlights are colored yellow, it could also have been blue, green, different fonts etc. But my idea was neither of these. I thought that another way to make something pop out of the context could be levels. Levels in that sense that you don’t adjust anything else that the level or height of the highlights.

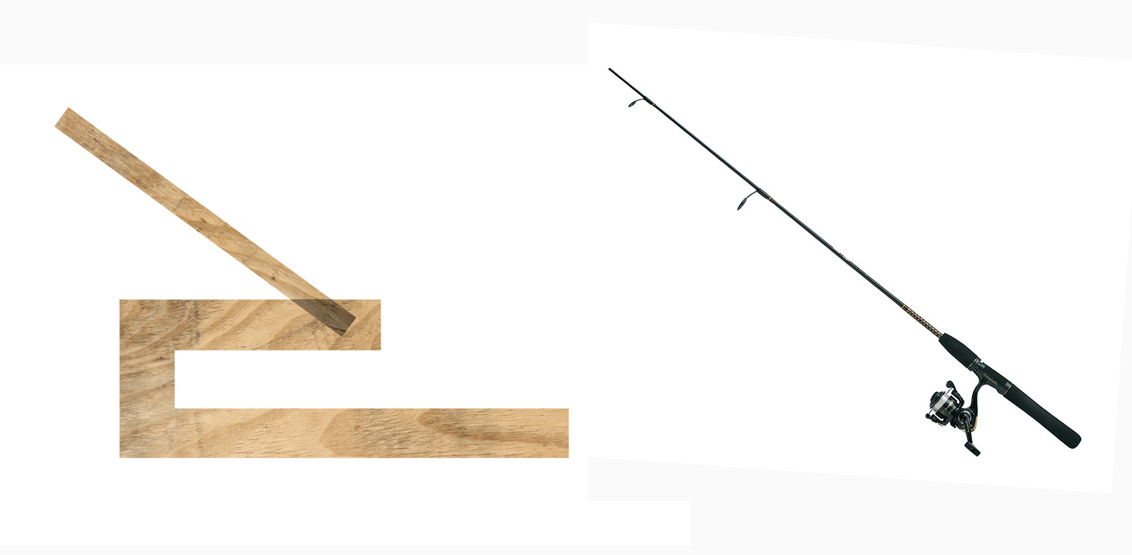
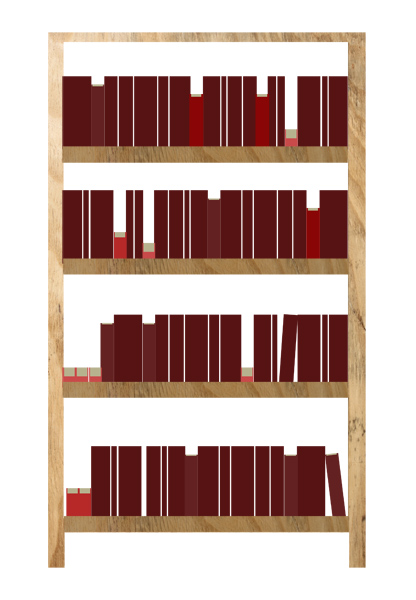
Imagine that you read a book, suddenly one of the words is in another level that the others. You would notice that in the same way as a “regular” highlighting as color. I’m not saying it is a more clever way to do it. Especially not in a book (it would be unpractical, so unless that is the case. I wouldn’t recommend it) but for something else than that it has the same effect. So I wanted to make a board, where I took some of the highlights I printed from the blog, and visualized it on that. Where everything is the same color and same font (in this case no fonts at all) where the only different is the level of the surface. I placed my “higher levels” as the highlights from the blog I had screenshotted earlier.


The result is very minimalist, but I think it sums up the thoughts I have been dealing with, while doing this assignment or exploring. The levels of course also works because of the shadows. And I think they work stronger, the more shadow and light they have. It is actually also the only highlight you can feel, unless we make a new highlighting with materials instead. That could be interesting too..

Since books can’t fly, lets angle them instead


Saturday, April 16, 2016

Since books can’t fly, lets angle them instead

I’m usually a patient and thorough person. My apartment is always in an acceptable order, I iron my clothes, I bike at an average pace, I don’t lose my patience when I stand in the slowest line at the grocery store. If I start reading a book, I always finish it sooner or later.

But; whenever I visit a bookstore or a library, and I get confronted by thousands of books, I completely lose my patience.

I know that there is a very clever and simple system to find what you are searching for, and that someone carefully placed every book in alphabetic order, neatly lined up on the bookshelves. But when I stand before the books, I get the same anxious stomach ache as when someone asks me a simple mathematical question that I usually can answer in one second, but in the stressed situation I turn red and stutter that I don’t know.

So how could I avoid this brain-freeze related paralyzation in the context of books?

Solution:

So lets start with the order of the books. The order is usually determined by the alphabetic order of the authors name or the title, which makes sense since it’s both practical and logical, which I’m a big fan of.

Now imagine that you stand before the alphabetically organized bookshelf, turning the pages in Hendrikje Koersen’s poetry collection De witte boot. You are now amazed over the treasure you found, and start to eye the bookshelf after more poetry.

Here is the interesting part:

Imagine every book containing poetry, magically hoovering in front of the bookshelf, making it easy as a piece of cake for you to find.

Sounds good right? Unfortunately I’m not a wizard and therefore not in a position to change the laws of nature, but I can however physically highlight a category of books, by tilting the short-side of them, so they hang over the bookshelves end, pointing out in the room, without actually falling down.

To angle these books, you could use a very simple wooden tool as in the illustration below.

angler

Left picture: Angler, viewed from the side

Right picture: Angler, viewed from above

How:

I have chosen to call this tool an angler, since it is used to literally angle books. (Angler is also the word used to describe a person who is doing angling, a kind of sport fishing, which is fitting since you hold your fishing rod in a angle similar to my wooden tool.)

angler and fishingrod

Left picture: The Angler

Right picture: Fishing rod 

The angler-tool is made of a very simple construction of wood. It can both be used in singles or in groups, but in the context of bookshelves, I will describe the usage of multiple angler-tools.

To use it you first have to fasten it to a bookshelf, and then put it in the angle that is needed. You can choose from five different angles, each representing a different category.

I have chosen to represent poetry, architecture, design, photography and fine art in this scenario, since I study at an art school where these subjects are the most presented in the school-library. In theory, you could add even more angles to the tools design, but I believe that that would affect the clarity of the category’s in a negative way.

anglers angles

Picture: The five different angles that can be used

The tool has five angles, each representing on of the category’s above.

The angles are:

90

110

130

150

170

The angle 170 will be most far out from the bookshelf, and thus also highlight the book. I want to use it as a category for Poetry, because I believe that poetry it is an underrepresented subject that is read the least in art schools in comparison to other subjects. Having this subject highlighted could direct more attention to poetry and maybe influence someone to take a look in the book, even if this person usually does not read poetry.

Angle 90 would be used for books about Fine Art, since I believe that Fine Art is the subject with the highest quantity of books, which therefore makes it important for them to stay further back so they don’t block the view of the angled books, hanging out a bit from the bookshelf.

It is also a category of books that are often used for research in an art university, so it is important for their title to be visible to make them easy to find.

Angle 110 would be used for the Design-category, for the same reason as Fine Art.

The 130 angle would be used for Architecture, and angle 150 for Photography.


visualisation

Picture: Illustration of how a book-shelf using the angler could look.

Result:

By using this angler tool system a modified bookshelf will look like a relief due to the books protruding in different angles. If you are looking at the bookshelf from a distance, you should have an easy time recognizing the different categories by the angle of the books. Looking at the bookshelf from a closer distance, you would be able to find your book by using the alphabetic order.

By making the bookshelf look like a relief instead of a plain overview, it will invite the viewer for a more tactile experience of the books, because you are not only able to touch and see the spine of the book, but also the front and back side, the material of the cover and the colors of the pages.

The tool may only be a small object, but it would affect not only the angle of the books physically, but also the viewers visual perception of the bookshelf, both from  far and close distances.


Log in
subscribe