“A seperate seat for one person, typically with a back and four legs.”
The result of google-searching what is a chair?
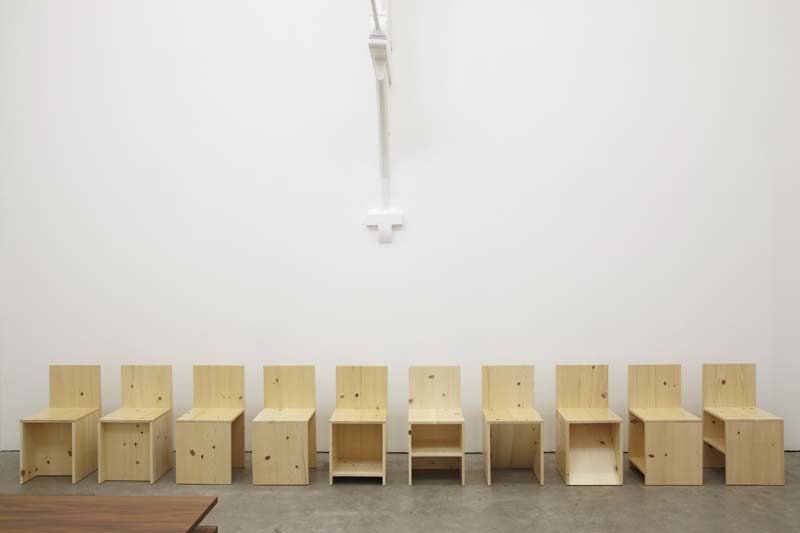
Donald Judd started making furniture when he moved with his family to a remote town in Texas in 1973. No desirable furniture available in his surrounding area, he got to work himself and began making furniture with the only material at hand, lumberyard-cut pine.
Judd thought a chair had to show the function of the object, as well as the image. To sit on it, and a chair. Separating his art from his furniture, he decided he wanted to make “well functioning” furniture, not an “artist’s furniture”. Now, in his opinion a “well functioning” was determined by the following;
“The art of a chair is not its resemblance to art, but partly its reasonableness, usefulness and scale as a chair.” (Donald Judd from “It’s Hard to Find a Good Lamp” 1993)
Besides that he pointed out that if one was to embark on both the path of furniture making as well as art, that there will be consistent similarities in the interests in form.
I had the choice between either doing theoretical research or practical, research for the essay. For the sake of my own enjoyment and an end result where I have heart for, I choose the latter. Making the chair and experiencing it Now, here my task started. Figuring out how to make a “well functioning” chair, and keeping in check with Judd’s minimalist aesthetic. Truth be told I was quite excited!
For more information on Judd and his furniture I have the following link;
(click the yellow dot to click the link)
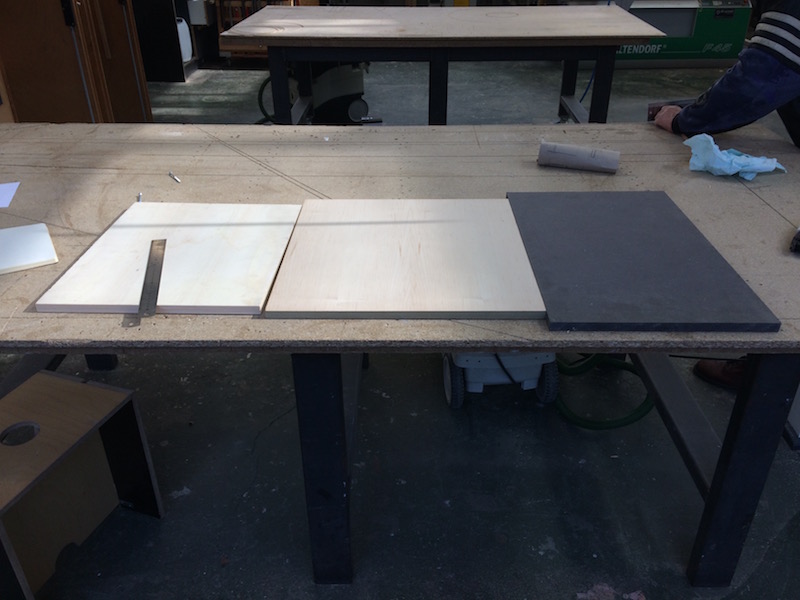
Step one, gather the materials.
For me I wanted to put myself a bit in Judd’s situation. To gather from the materials to my disposal. I could’ve chosen to let wood be custom cut for me, but I liked the idea of having to find pieces among the leftovers a lot better. And so I found the pieces of wood that could be used as the parts of my chair.
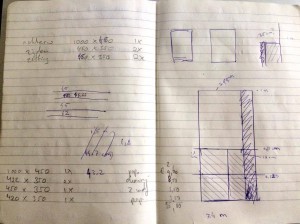
Step two, measuring.
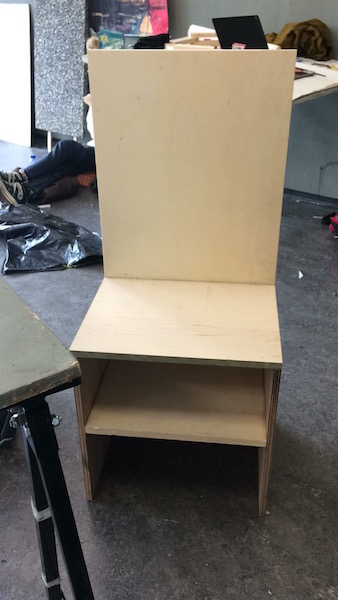
With this I had to keep in mind design as well as function. The width of seating had to be comfortable, but not look off-balance compared to the rest of the chair. The height of the seating was the same case. As for the back of the chair, I decided to make it about shoulder height when sitting down. This was because I have the tendency to hunch my shoulders too much while working on projects. And honestly, if I was making a chair anyways, why not make one that would function for more than just another chair in the classroom? Why not make one that would help with my posture as well? Same thing for the smaller compartment under the seating, great for storing materials in case my desk gets too crowded.
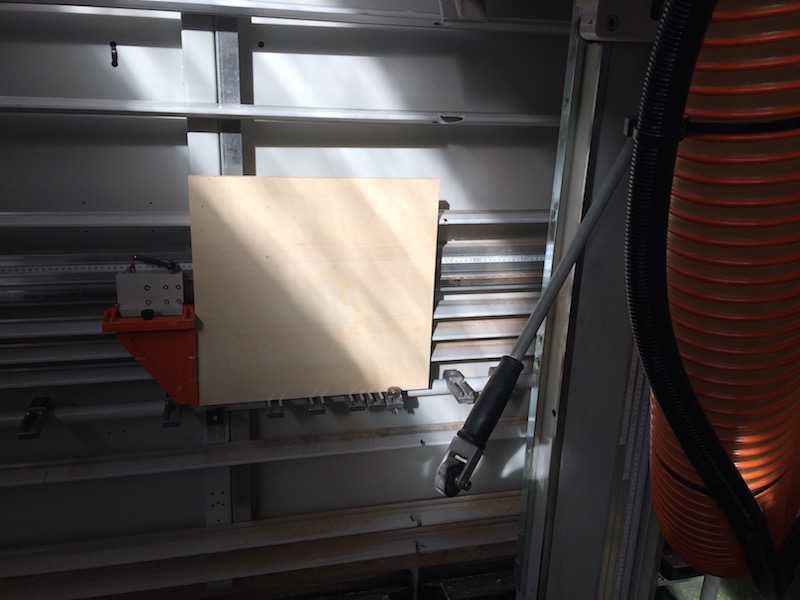
Step three, cutting.
Please be careful when cutting the wood! It is easy to forget to adjust the size, and if you cut one piece entirely or even slightly off, you’re a long way from home. Precision is essential with making a chair as simplistic as the ones by Judd. One centimeter off, and the whole work falls apart. Sometimes even literally.
Step four, figuring out how Judd even kept his works together.
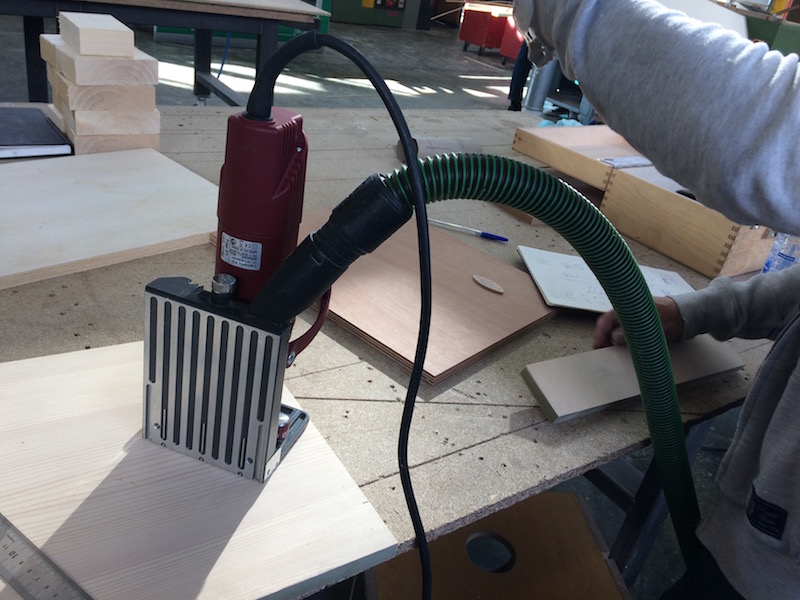
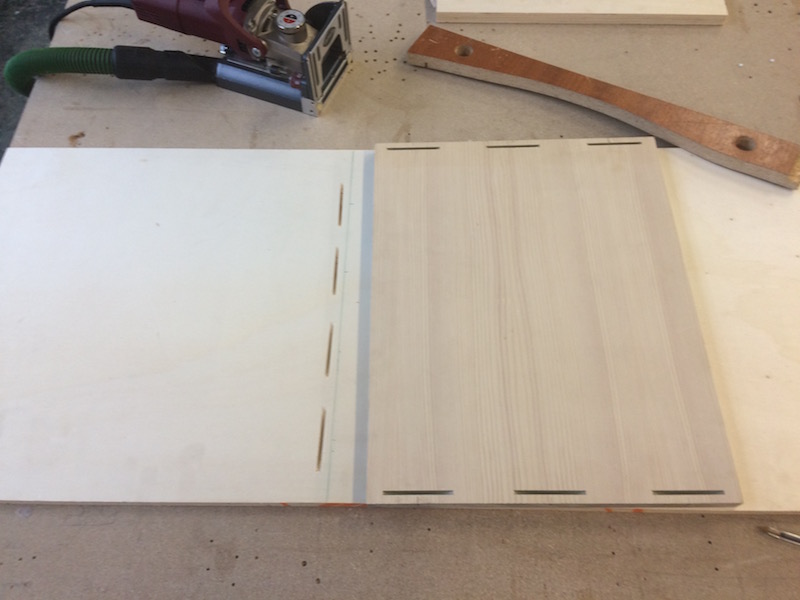
This was easily the hardest part. I love the form of Judd’s chairs, but it was quite complicated to figure out how the wooden chairs remained chairs without any visible nails or use of dovetail joint. I was lucky to receive some help by one of the employees of the wood-workshop. She explained to me that I could make little slits within the wood, to then make one on the other piece of wood which would touch it at the same point. A small oval piece of wood would then be put between the two slits and keep them connected. Kind of like a puzzle piece!
Step five, actually putting it together.
For someone that has the concentration level of a fruit-fly, this task was a challenge. You have to make sure that all the slits connect perfectly, align perfectly, and that the width between the slits and where the wood is supposed the end, are the same on both pieces.
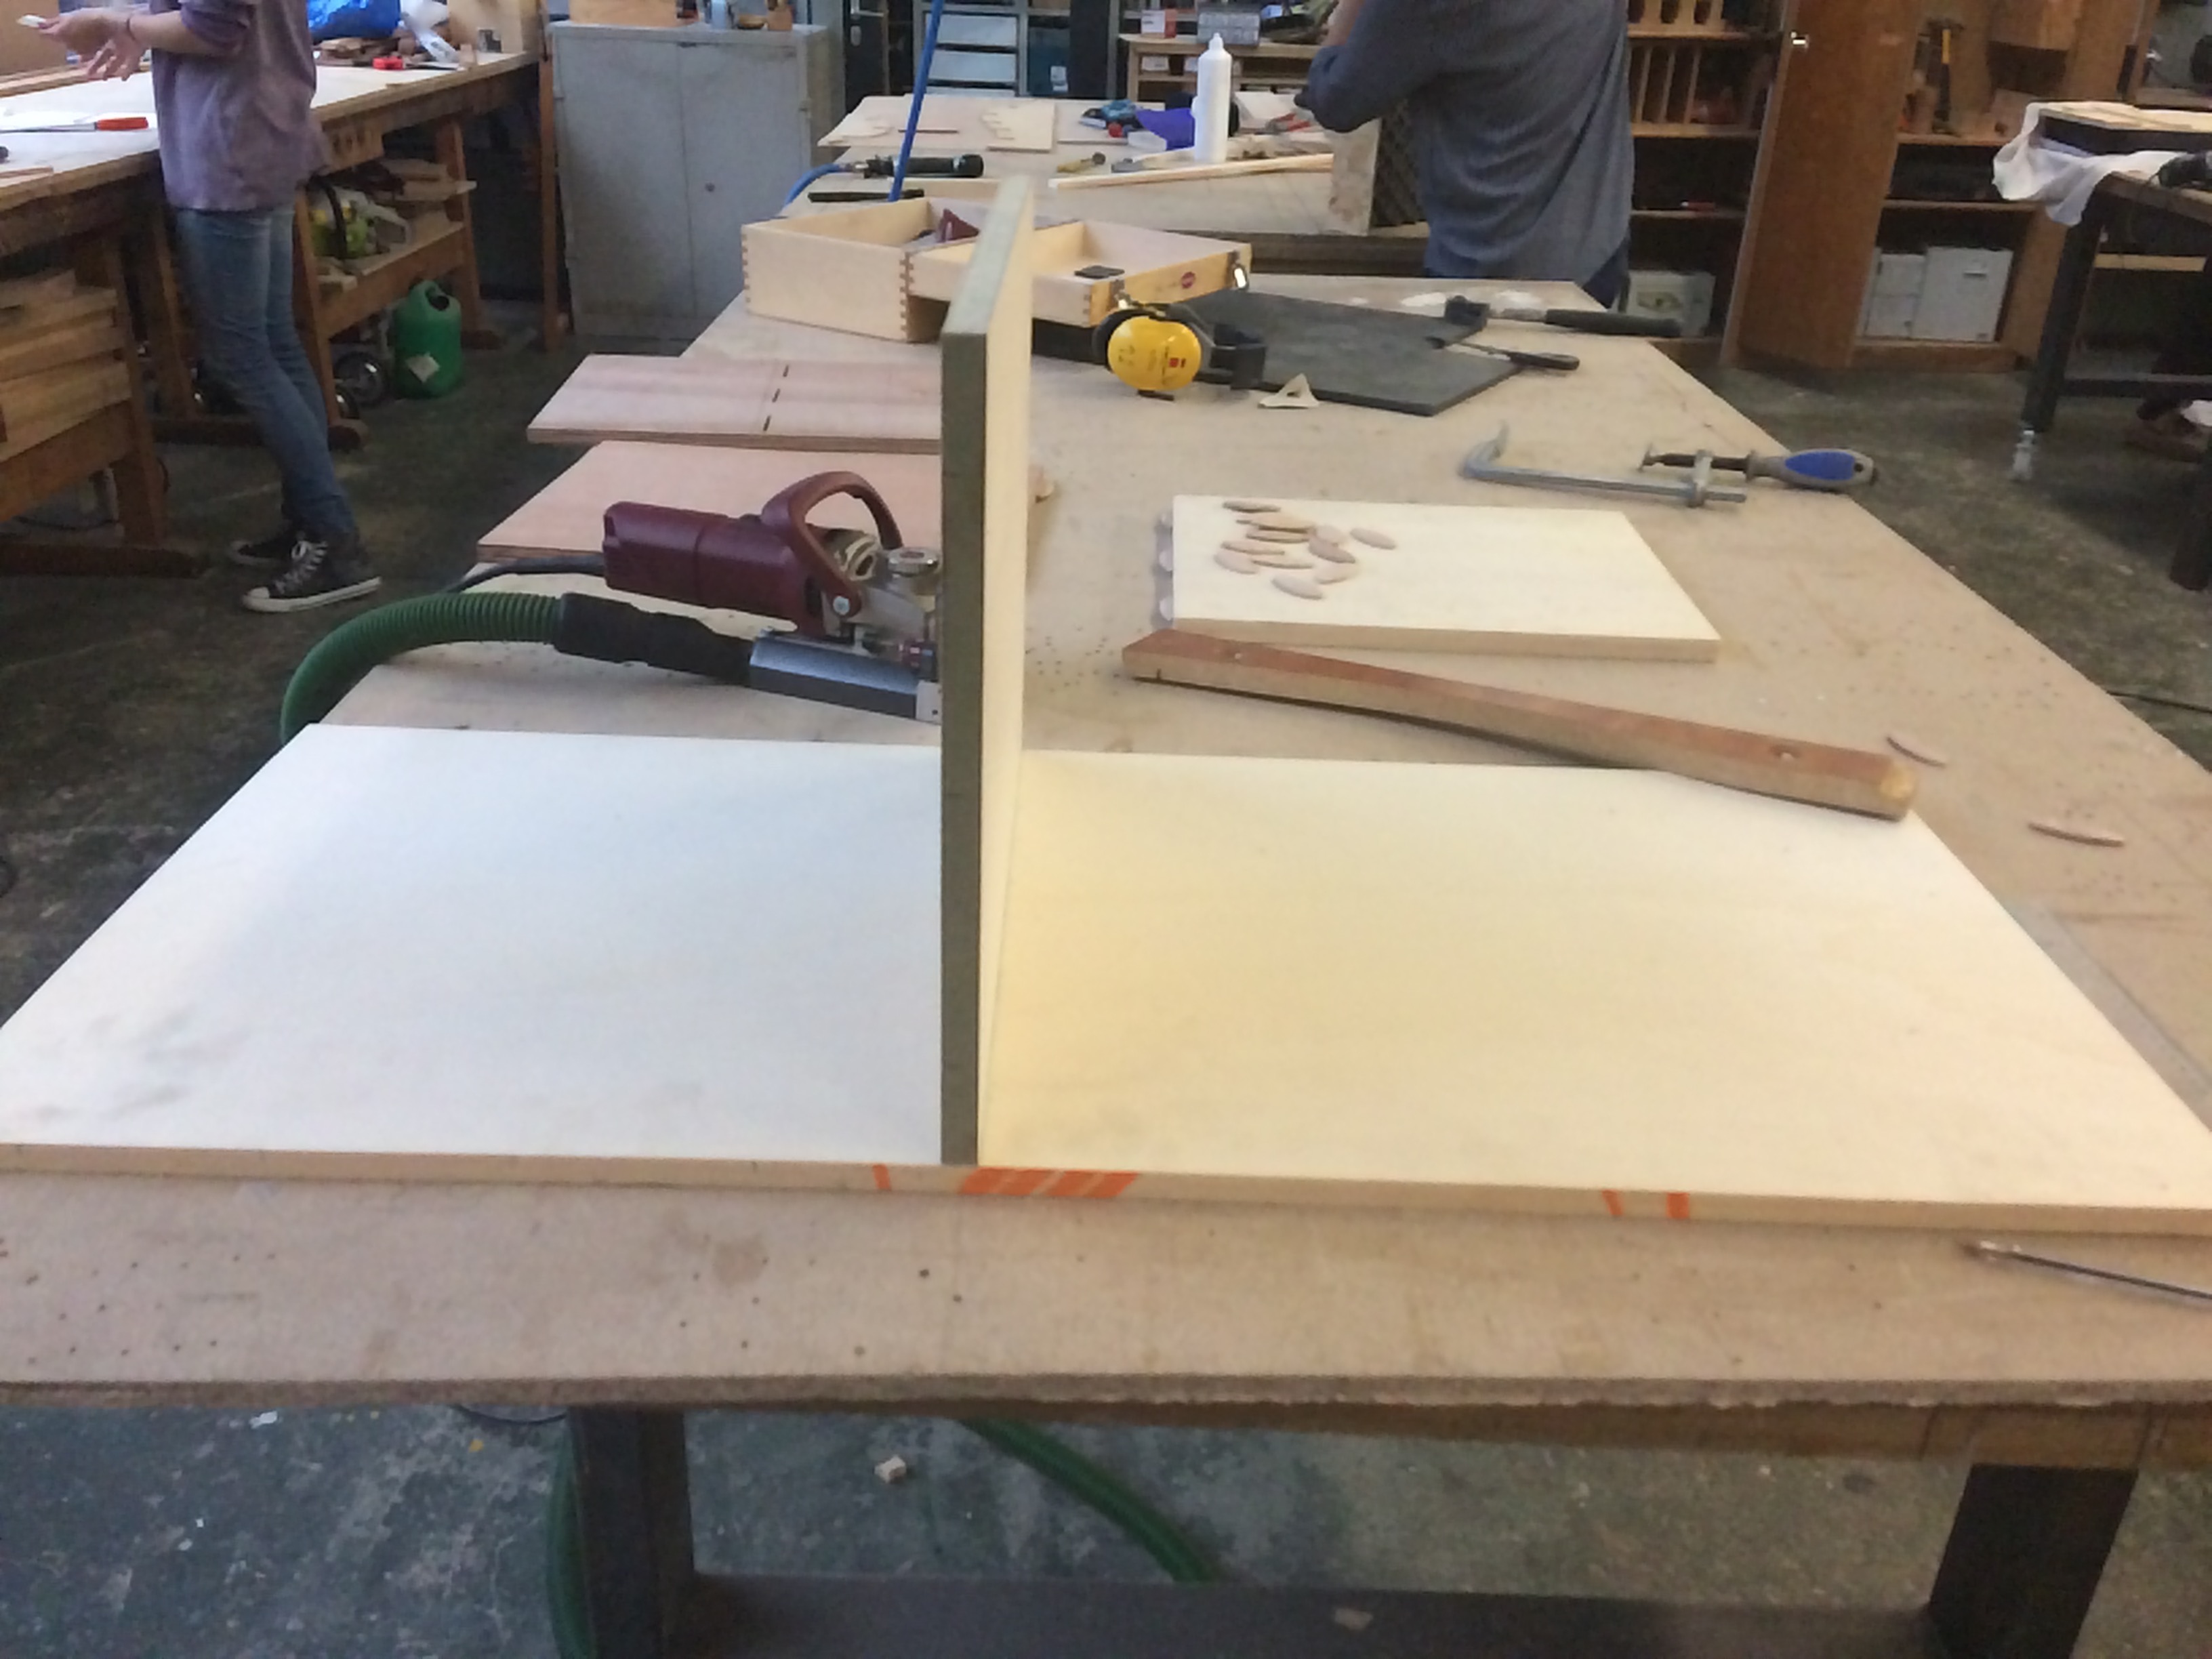
Then, you try it out. Put it together to make sure that every puzzle piece connects. Ensuring you did it correctly through and through.
Step six, keep it together.
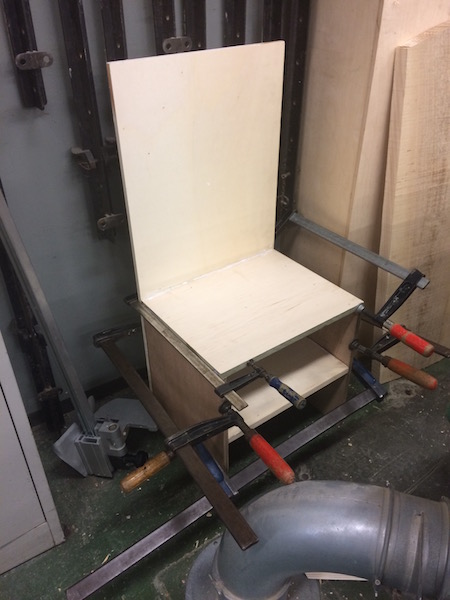
Besides the slits and wooden pieces, you should add glue to keep the chair a chair. Keep pressure on the points where the joints need to be as tight possible, so it can carry the weight of the average person. Preferably a bit more than that.
Let it dry overnight.
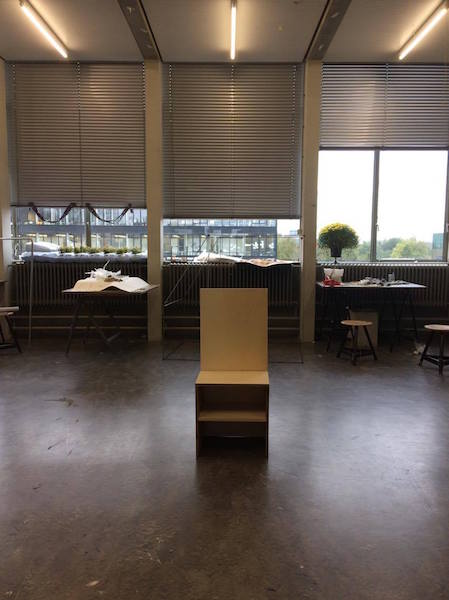
Step seven, place it within school.
The reason I did this, was because the assignment I had gotten was to explore the similarities within Judd’s furniture and de Stijl. And as Judd had said, if one makes both art, furniture and architecture at the same time, there will be consistent similarities of form within all of these. And Gerrit Rietveld, influential artist within de Stijl, happened to do two of these. My chair standing there, I saw their shapes came together quite nicely. The same geometrical forms, same practicality.
Now if you are interested in finding out more about the combination of these two things, de Stijl and Judd, please click the yellow square!
Step eight, enjoy your work
Sit on it, drag it around to sit on it in different places, store things within the compartment and revel in the fact you actually made something you can use.
I found a few other enjoyable examples of chairs made from things in your surrounding area.
[click the yellow dot , it will lead you to a fun and educational video]
