Research – RGB system
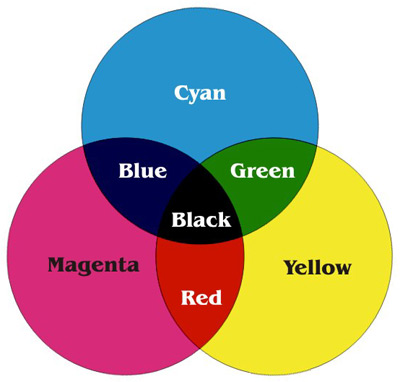
The RGB system [X] is a colour system generated by light. It is based on the light primaries of red, green and blue.When combined, red and green light rays produce yellow, blue and green produce cyan, red and blue produce magenta. Red, green and blue mix to create white (light).[X]
The RGB colour model 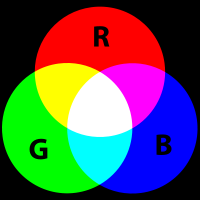 is additive in the sense that the three light beams are added together, and their light spectra add, wavelength for wavelength, to make the final colour’s spectrum.
The choice of primary colours is related to the physiology of the human eye; good primaries are stimuli that maximize the difference between the responses of the cone cells of the human retina to light of different wavelengths, and that thereby make a large colour triangle.
The RGB system was developed in conjunction with television technology. The surface of the screen is covered by tiny points, each with a diameter of approximately 0.2 mm, containing phosphorescent materials (molecules). Normally, three types are selected to transmit red, green or blue light after excitement by beams of electrons (after they have absorbed energy).
Colours on the television screen are created by a special form of additive light mixture known as a partitive mixture. The partitive light mixture is created because the human eye is incapable of perceiving the many hundreds of thousands of points — the triads of red, green and blue patches into which they are organised — individually, and can only register the mixing effect of all RGB-triads together, with brightness being regulated by the intensity of the electron stream which triggers the phosphorescence.
The cube  construction has been verified as the most suitable system for this particular range of colours, with each of its edges being divided into 16 equal parts numbered 1 to 15. These numbers are sufficient to specify the trichromatic composition of each colour.
The eight corner-points of the cube are occupied by red , green and blue, the subtractive primary colours magenta, yellow and Cyan, and the achromatic colours white and black.
All colours in the RGB system  can be concentrated into two subgroups, one centred on white and the other on black. The chromatic form extends from black (0, 0, 0) along the edges of the colours to reach the white tip (15, 15, 15) — the maximum intensity — after passing two corner points.
The RGB colour model itself does not define what is meant by red, green, and blue colormetrically, and so the results of mixing them are not specified as absolute, but relative to the primary colours. When the exact chromaticities of the red, green, and blue primaries are defined, the colour model then becomes an absolute colour space, such as sRGB or Adobe RGB.
PROJECT
& silk-screening
The colour I silkscreened during the progress of my project was connected to the red I used as a starting point for the RGB project. They were not the same red, but still *red“. The red I used as a starting point for this project (RGB) was on my mind somehow, I’d been with this red for a while so maybe that’s why I still had it in my head, I don’t usually consciously spend this much time with one specific colour.
I was thinking about this RED, so that was the colour I was most curious about to silkscreen. I liked seeing the red in that process. It became tomatosoup red, not like the red in the project, which reminded me more of blood at the time. But maybe it’s also dependent on your mood, how you see red.
The project began with my research on the RGB system, colour made of light. How you see what you see on a monitor. Your eyes are fooled. What they don’t see, is that what is actually on the screen are millions of tiny dots, molecules that change colour when stimulated by electrons, into red, green or blue. Where they overlap we see yellow, cyan or magenta. And all of the hues that can be formed out of these components (read this research for more). So all of the fantastic images you can see on a screen are just tiny dots changing into three different colours and overlapping. Layers of light form the image. White light illuminates or dims the colour.
This was my starting point and this is what I went into throughout my research on colour. Seeing how colour is or can be composed, by looking at it like a monitor screen. On which you see an image, but you know it’s actually only dots, and you want to see the dots, but if you do that you have to go up to the screen really close, and then you loose the big picture. Is it possible to see the tiny dots as well as the big picture? For humans, on the monitor this is generally not possible, so I tried to explore this „seeing up close, far away“, on a different medium, than a monitor.
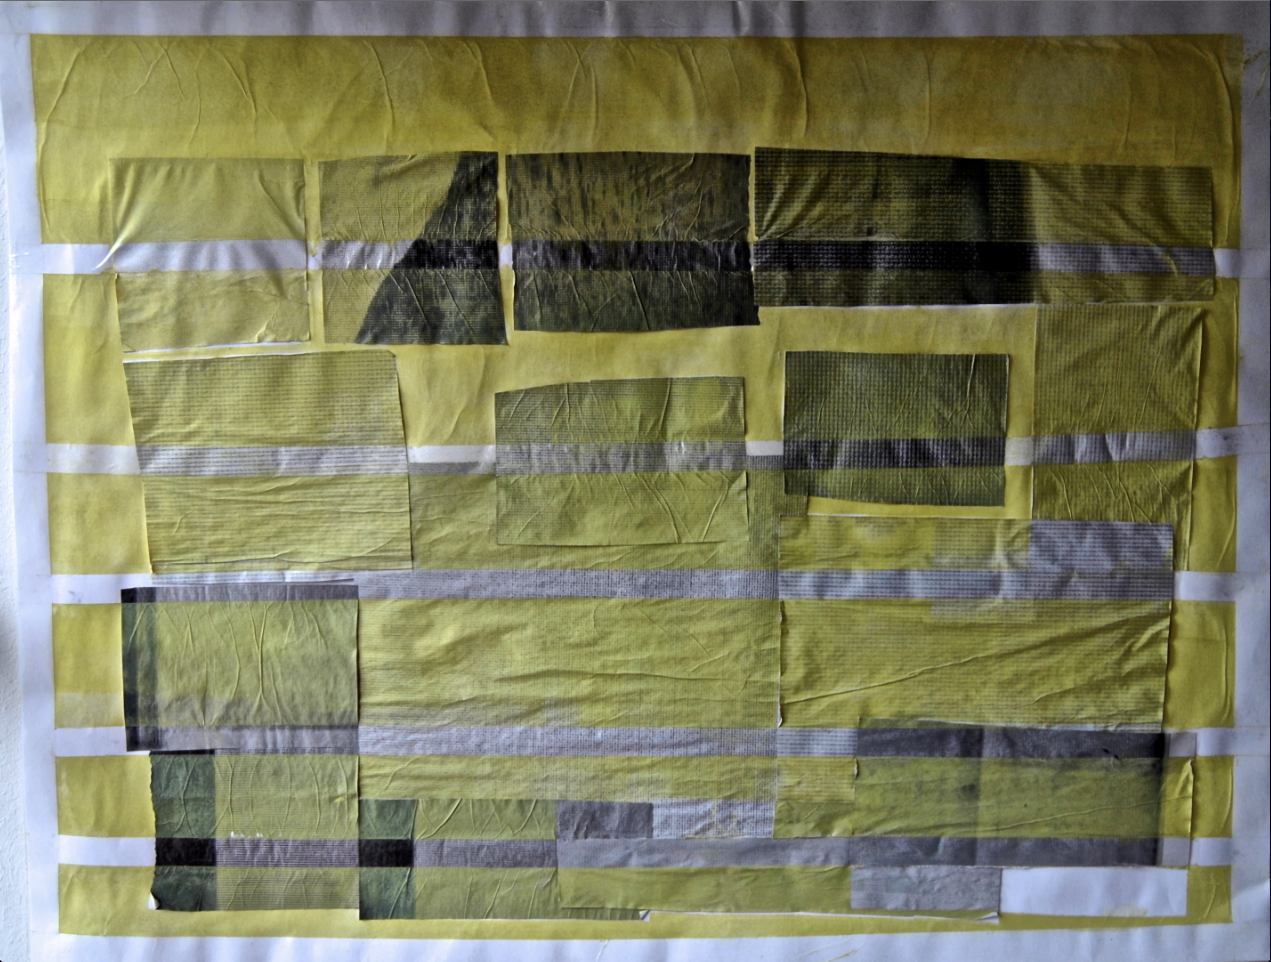
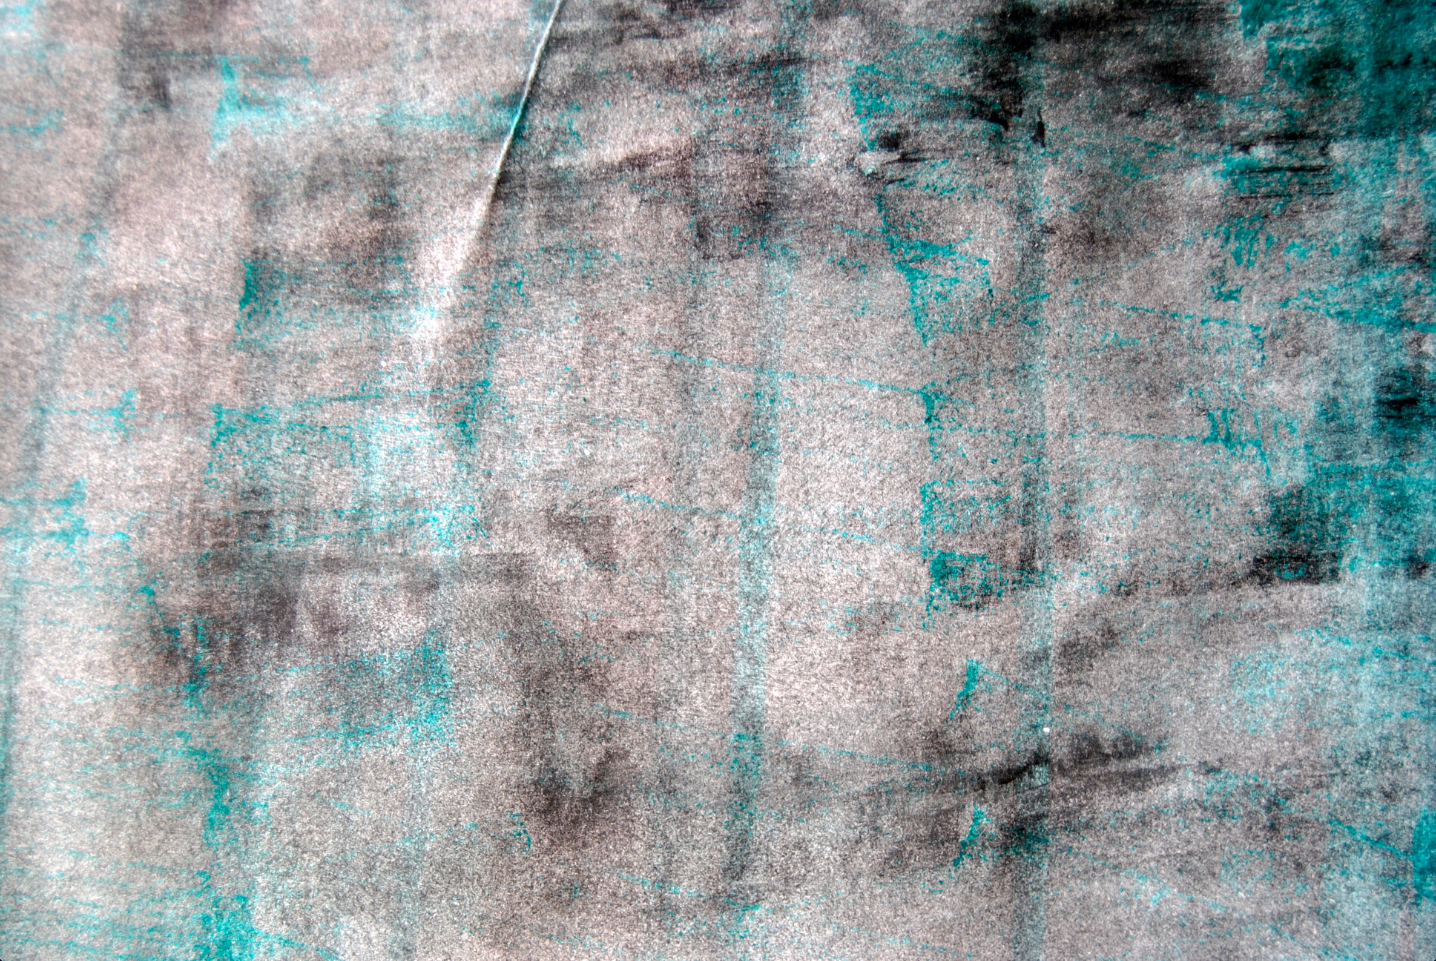
My first experiment, I did on a white paper surface was my „white light“.
On it I applied a shade of red I mixed out of different reds. I used a small soft roll you would usually use for painting walls, which has a sponge effect, it absorbs and release. With this I felt I had more room to deal with the white paper as a 3D Object not just as a surface. With this sponge roll I could press colour into the sheet of paper as well as absorb it depending on how wet/dry the paper and/or roll was.
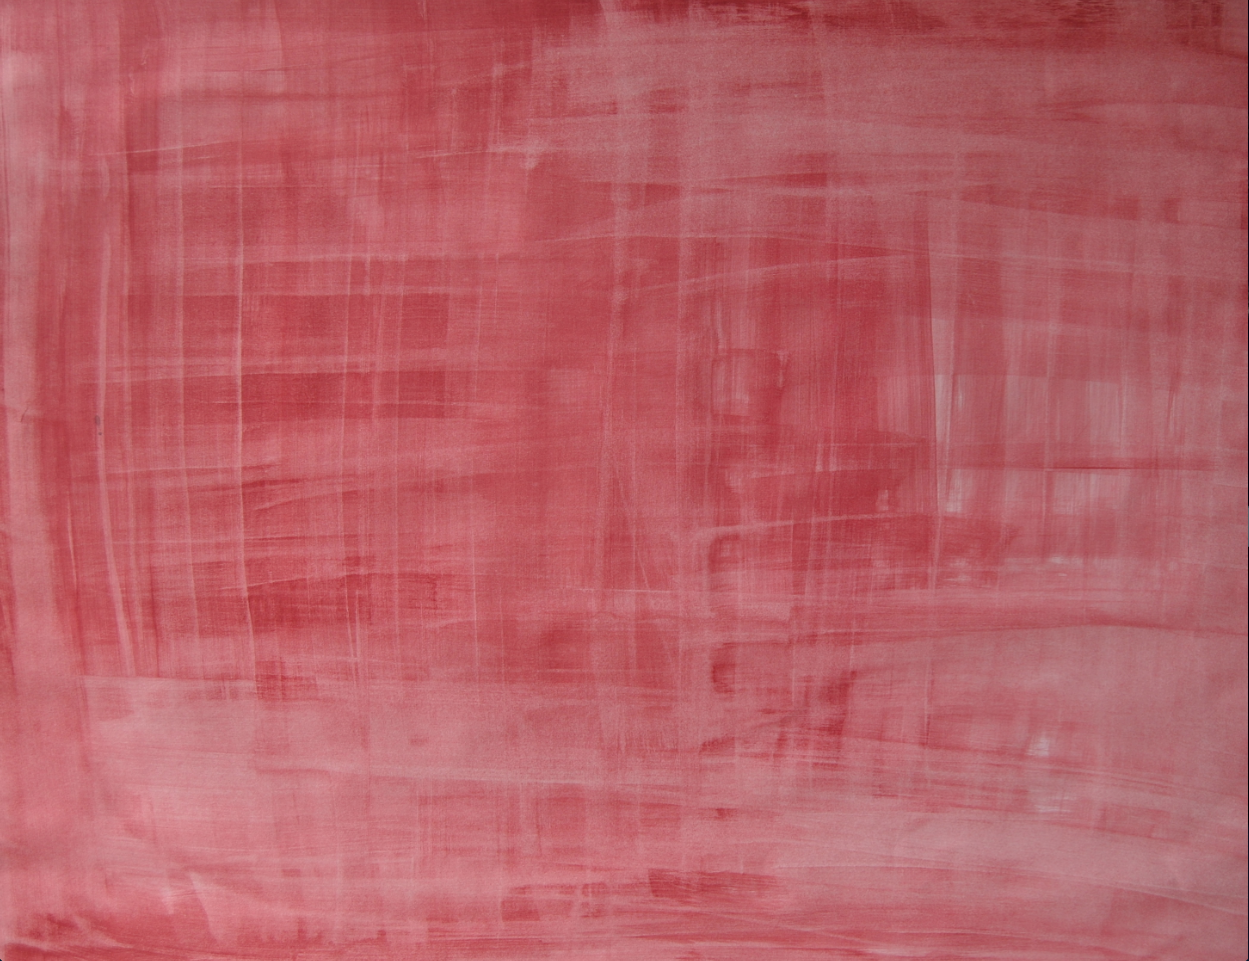
If I used a lot of water for example, I could „wash“ the colour out. I would say it was like trying to tear the colour apart, going through all of its layers, and seeing what sort of image this creates.
To this stretching the colour/revealing it’s layers, I added another colour and tryed a more soft approach, using more soft movements to try and get the colours to overlap as they wanted to .
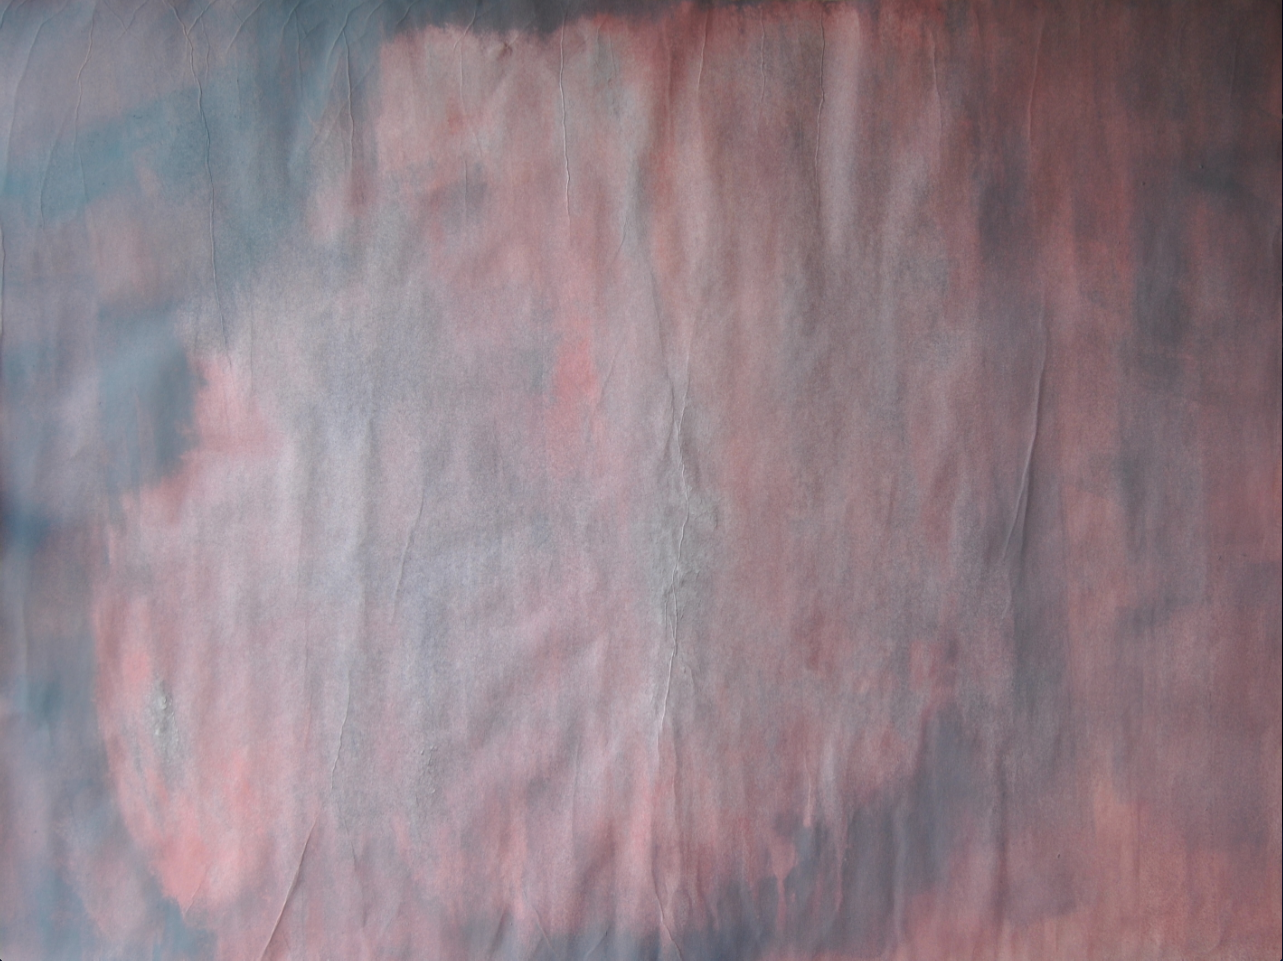
Basically what I did in the next experiments was working with layers. Concentrating on the single colours and how they change, according to the different tiny particles or pieces they are made up of.
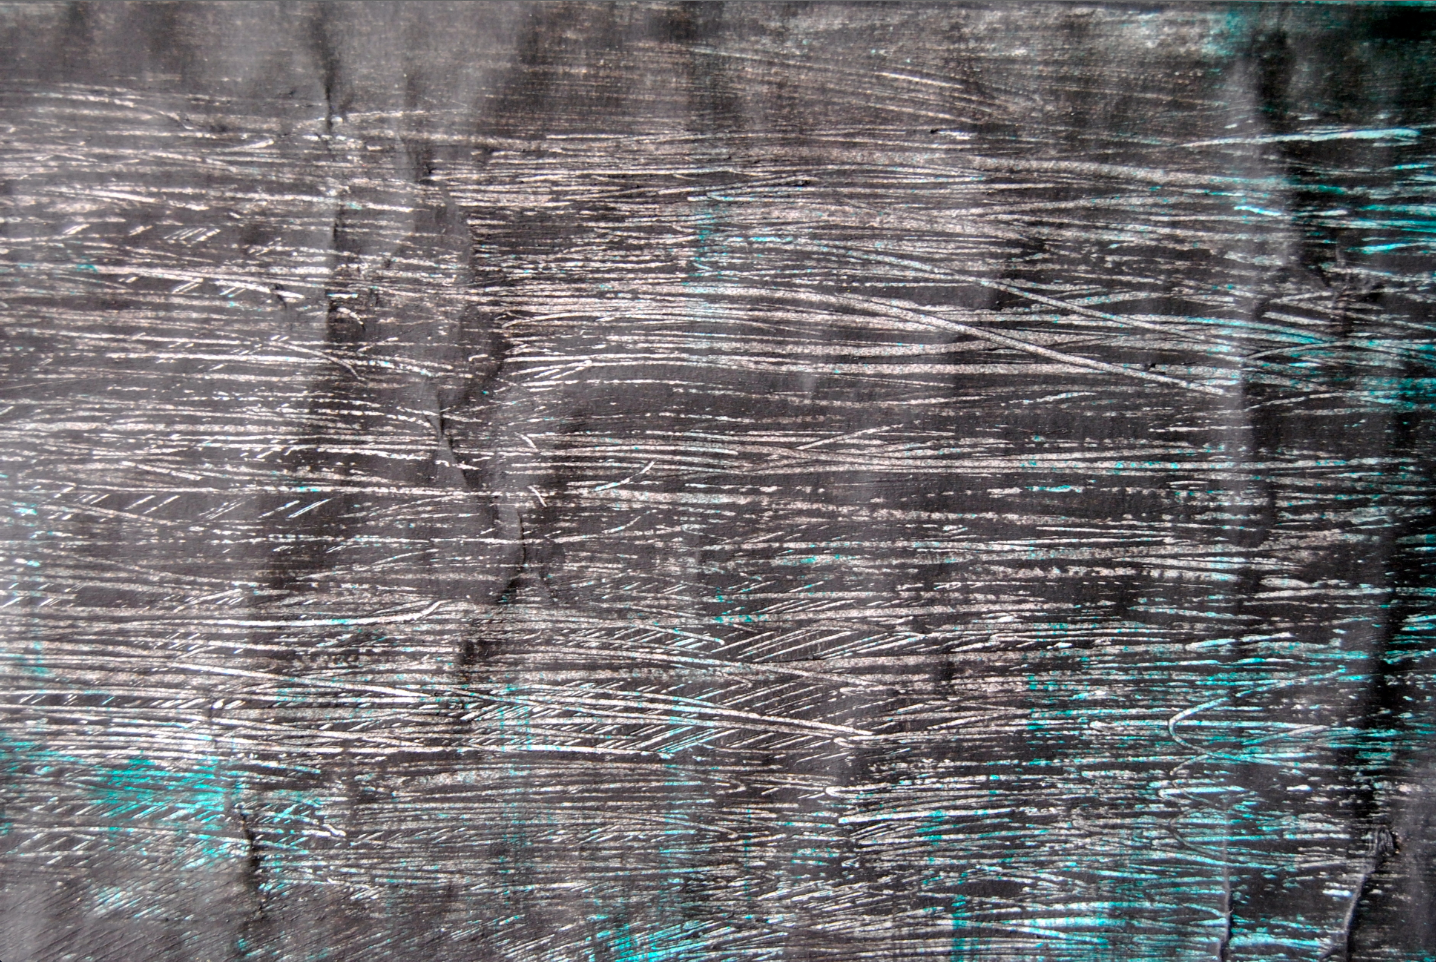
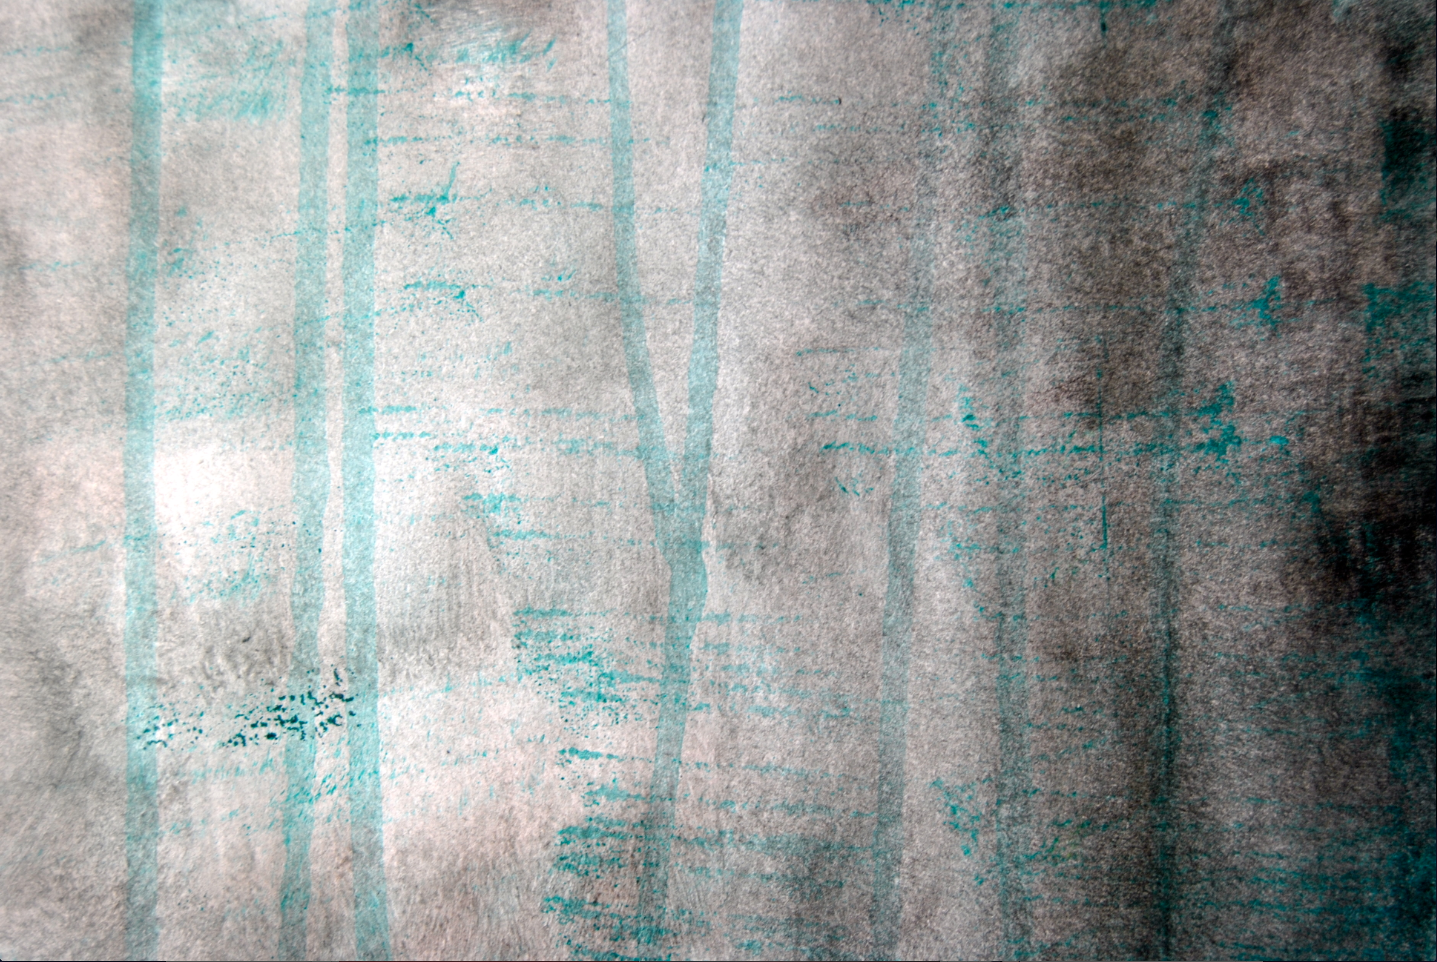
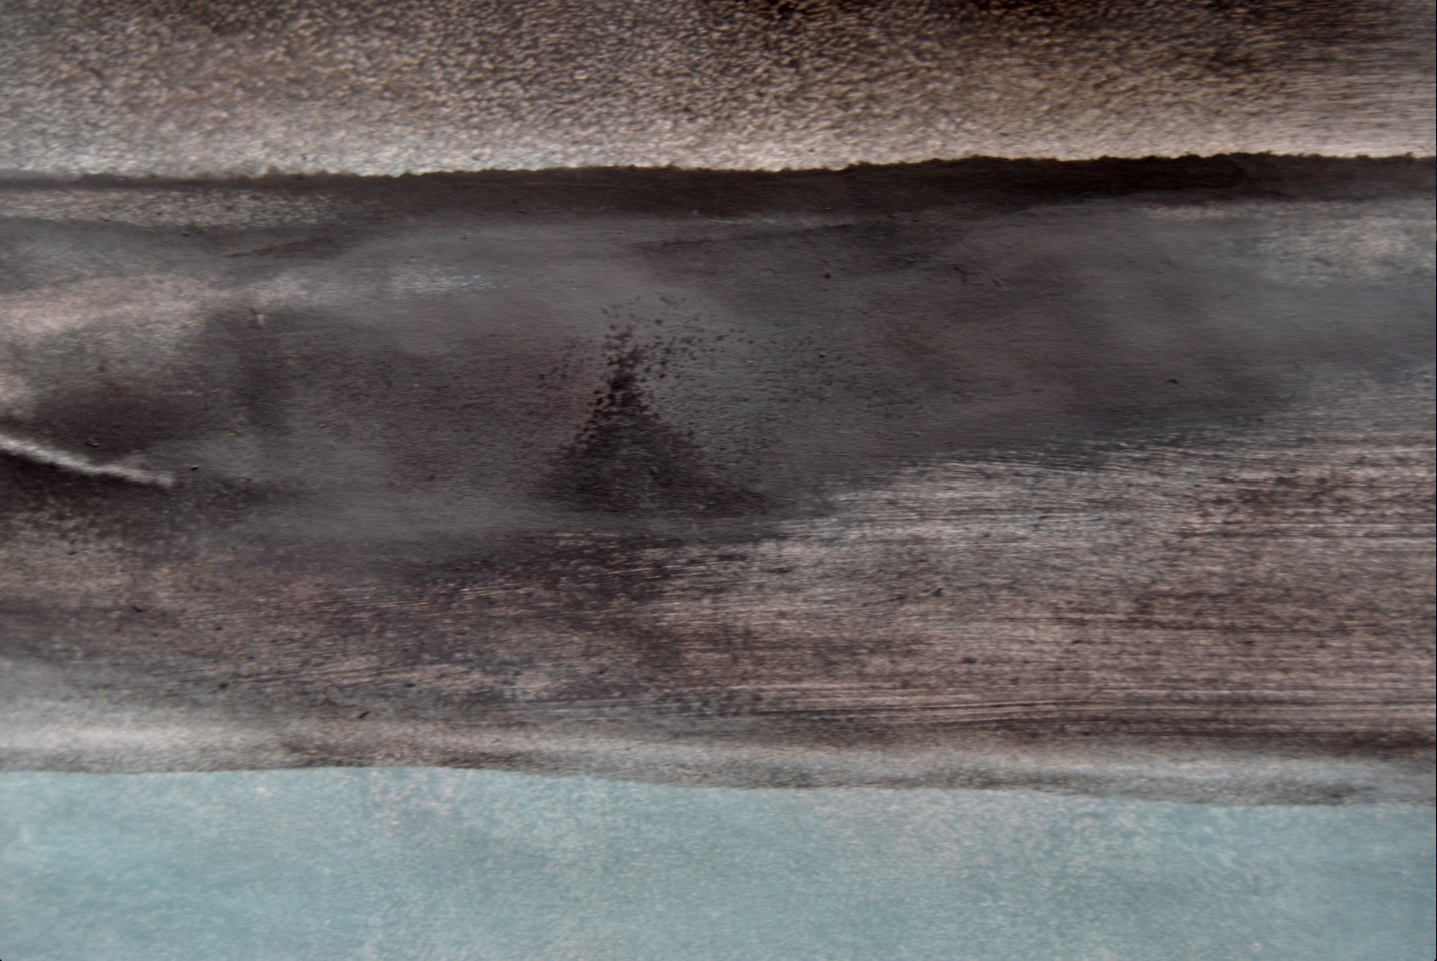
At some point I worked with black as well as white, to see how colours react when you add light or dark, above or underneath it or both. Sometimes I would let one part dry longer so the different layers of colour wouldn’t mix to see if it made a difference.

I also tried creating different patterns/structures, to see how a pattern or a structure, for example one made up of dark and light particles underneath the colour, takes an effect when you look at the big picture.
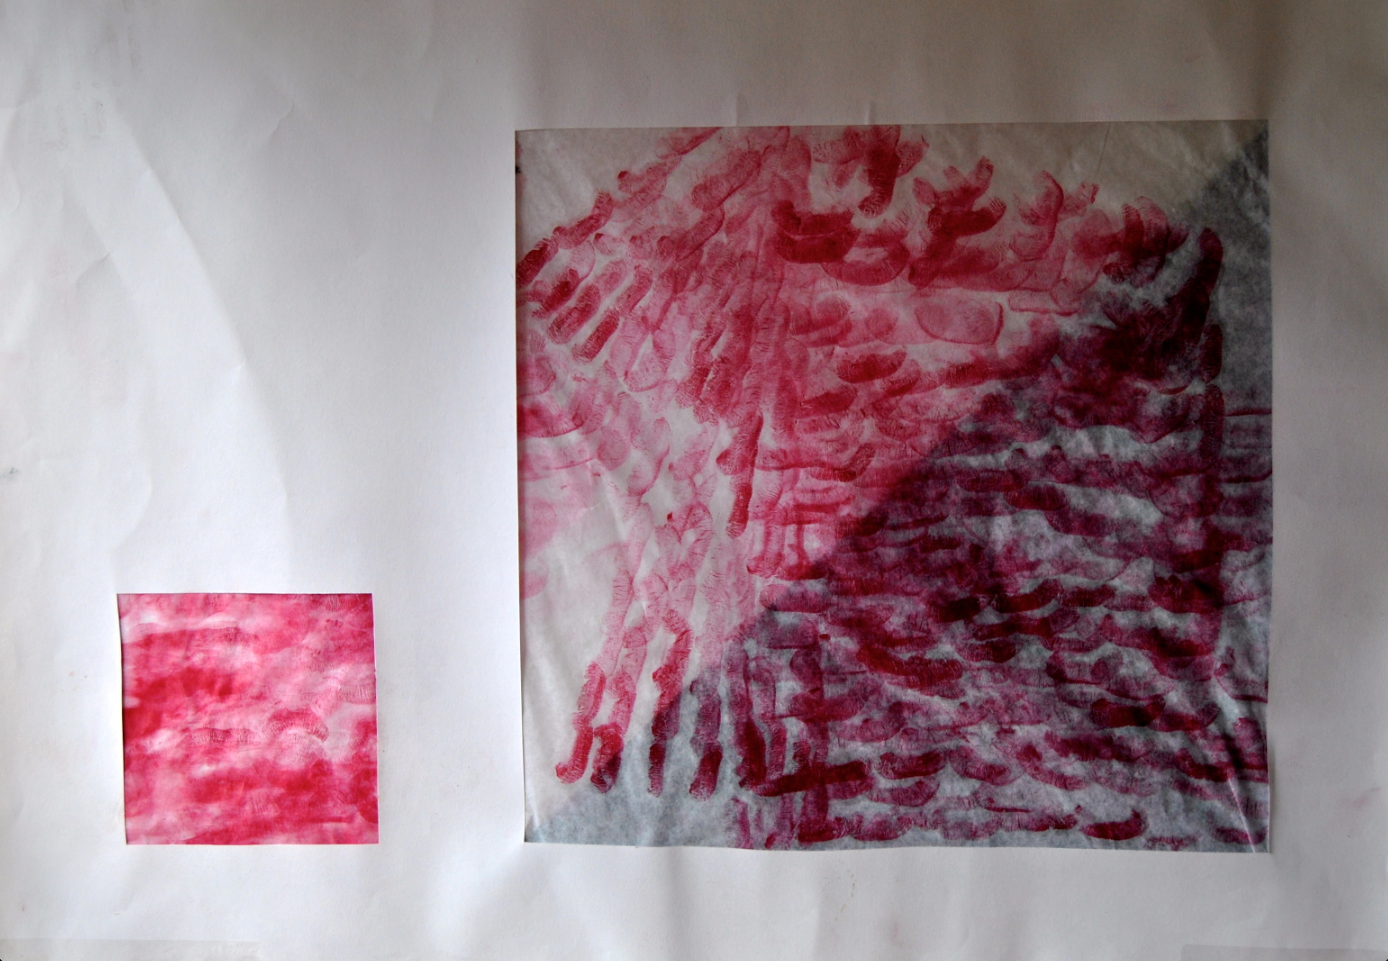
For this I also tried using my lower lip to create a colour pattern to find out if a colour looks different when it is applied in a lower lip pattern.
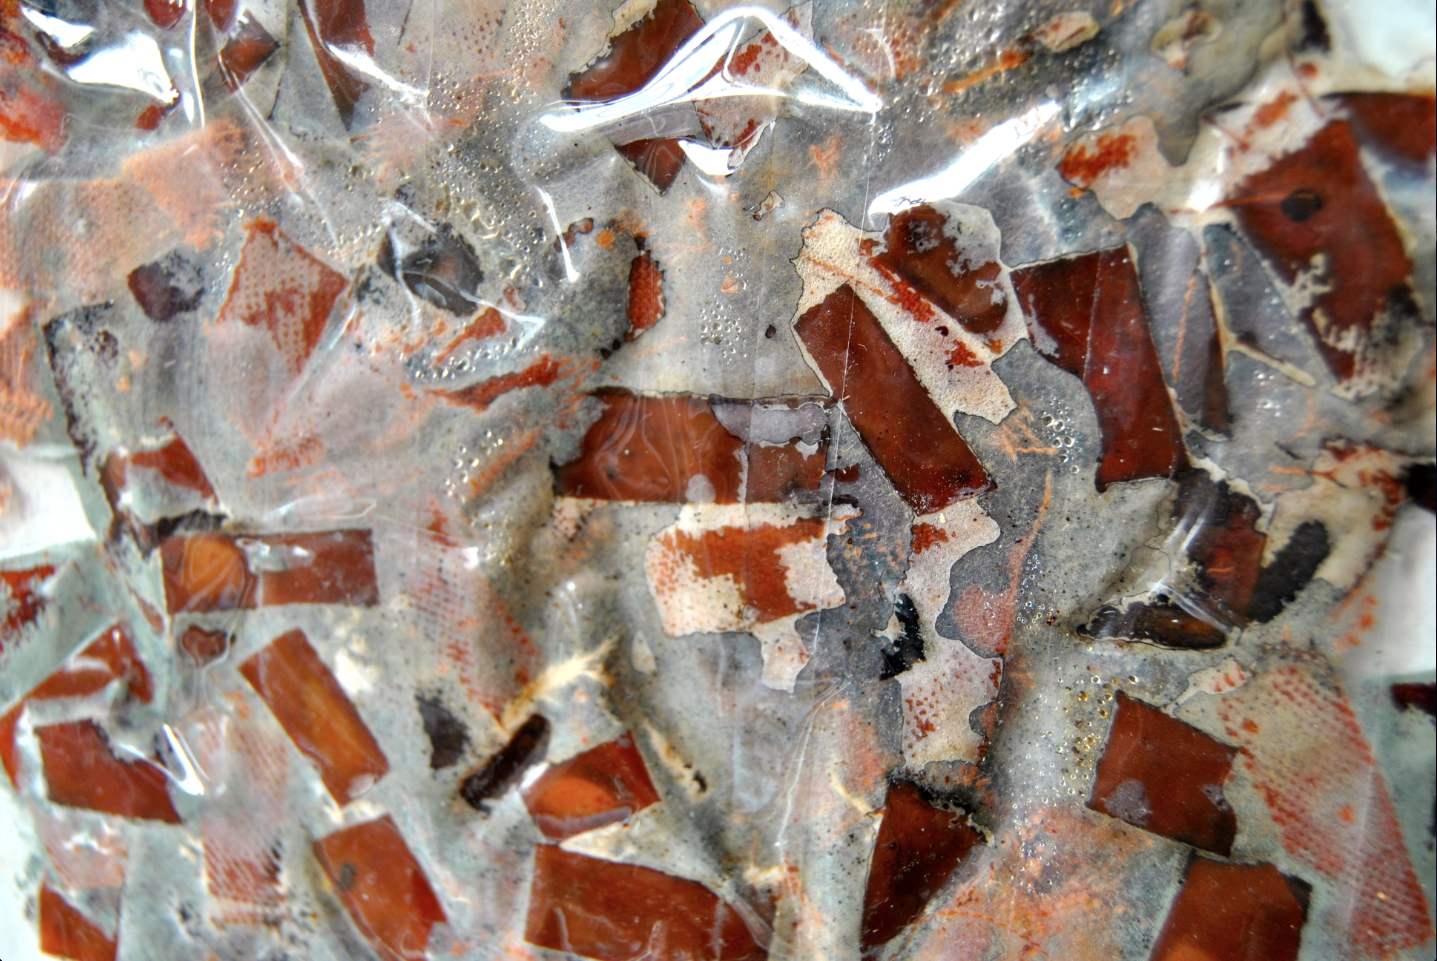
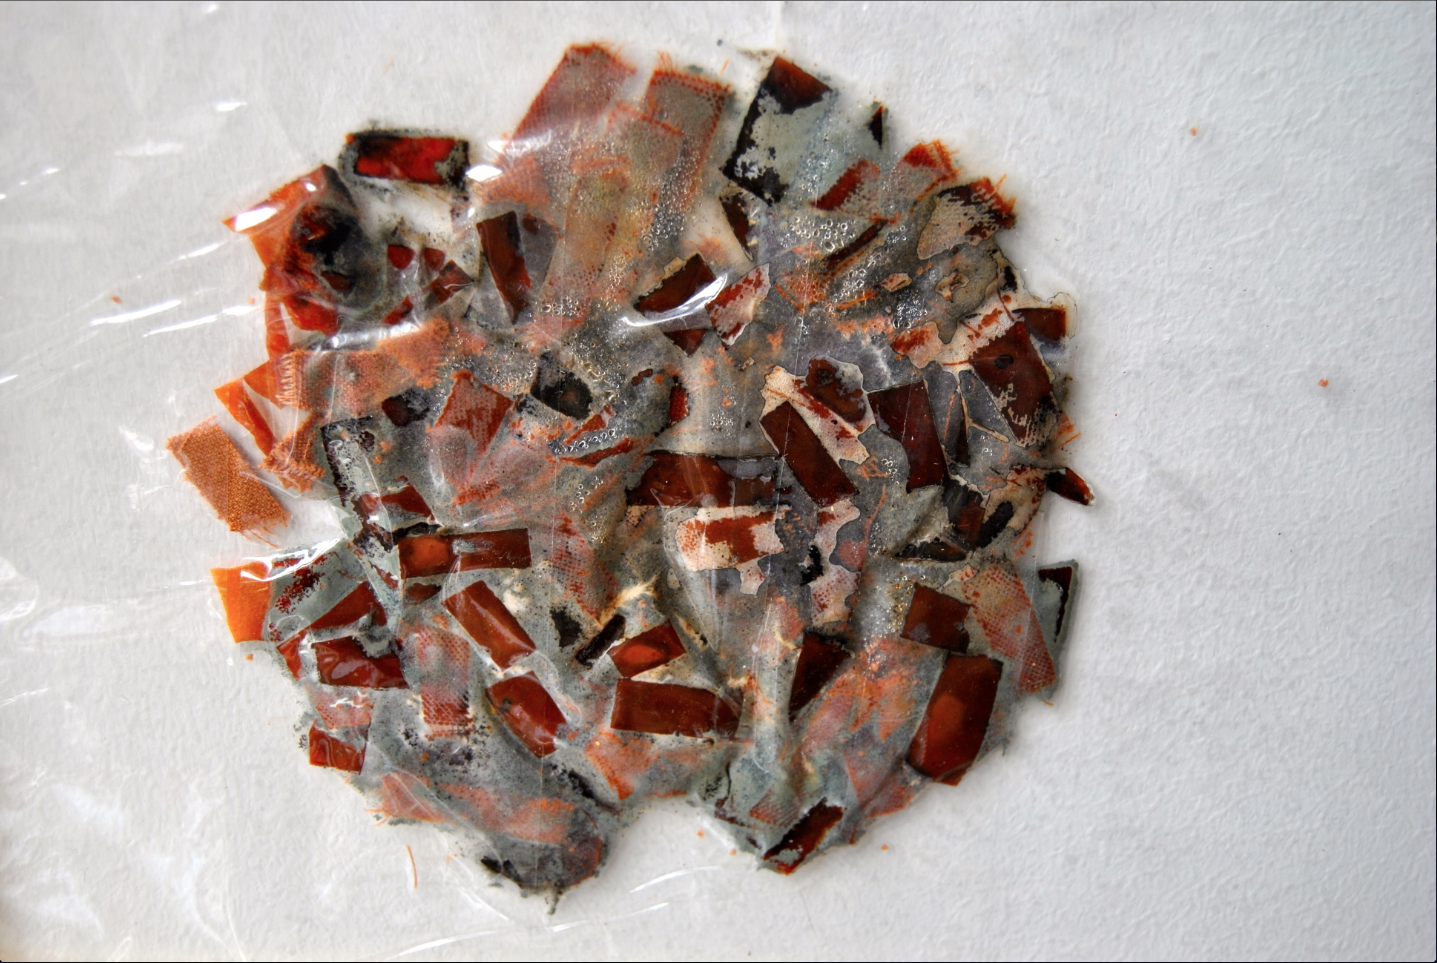
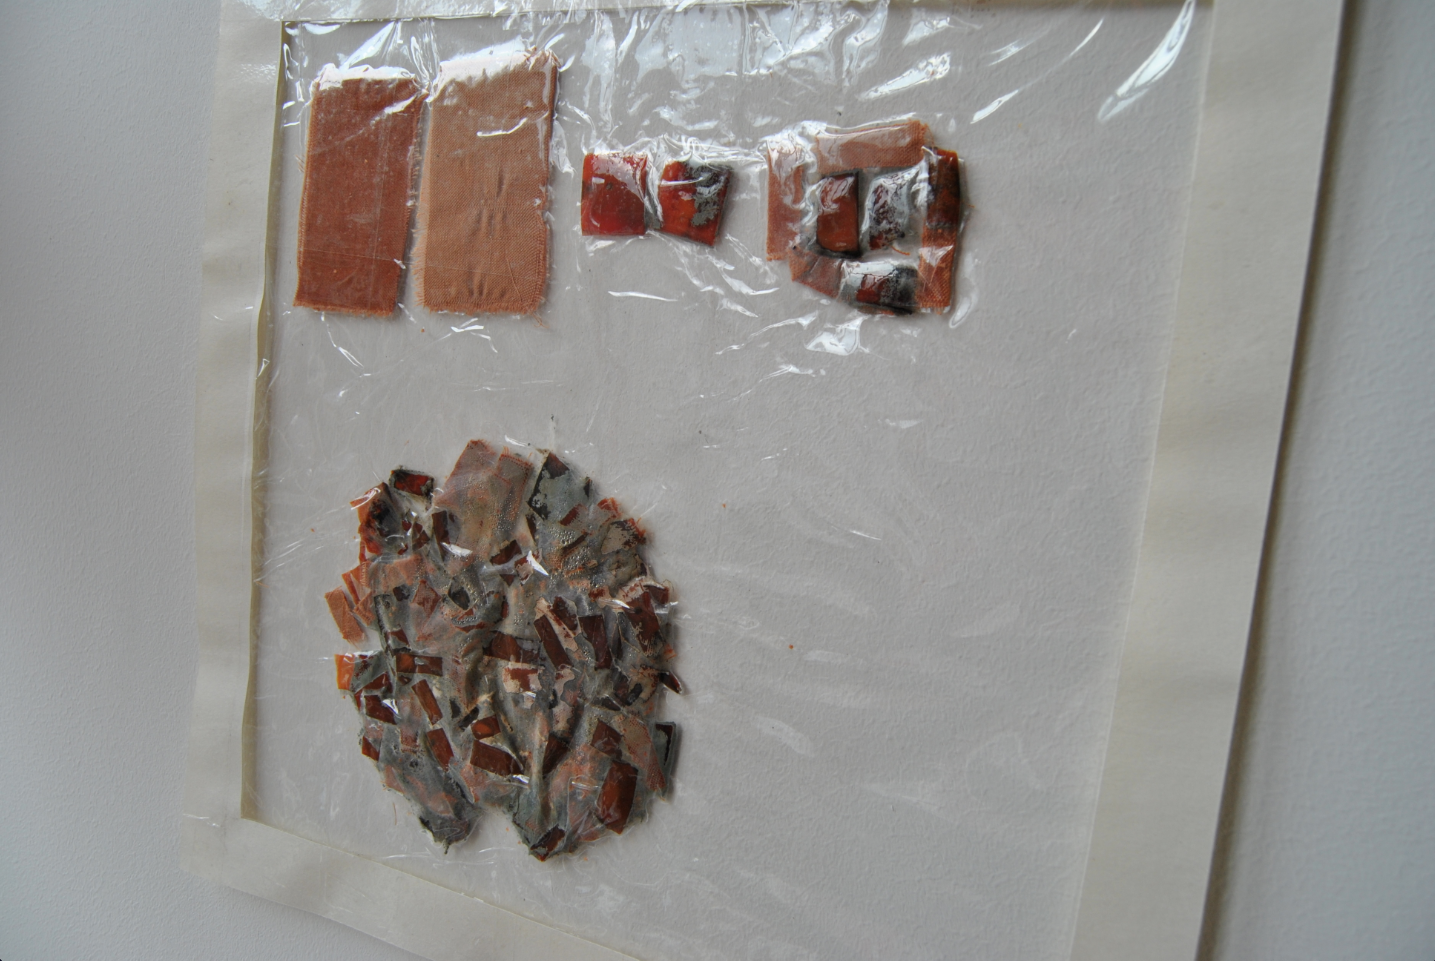
The last experiment I did, was cutting material things into small parts so I could mix them and when you see it from far away maybe you see a new colour. I made for example, an orange colour out of khaki fruit skin, and an orange velvet textile, both of which I cut into very small pieces and then mixed. After about two weeks it started to rot, and green mold was added to the colour scheme.
With other experiments I got lost in the big picture and it became a more pictorial. Still I was working up close, concentrating on small sections at a time, looking for effects this can have on a colour when you take one (or many) steps back.